Apartment living, balcony crafts 2: wind chimes
My wedding anniversary is May 7th, so it’s poignant timing that the wind chimes I have been meaning to make for the past few weeks, were finally created on Monday!
On our honeymoon, my hubbie and I collected shells from the beaches around where we stayed with the intention of making jewellery for our friends.
We very gently drilled holes into the shells and then buffed and varnished them. Our friends were gifted bracelets and necklaces but we had a few shells left over.
So in honour of our anniversary, I decided to create a memory chime.
What is a memory chime?
It’s a term I made up on Monday! A memory chime is just like a wind chime but the trinkets you use to make it are ornaments from special times in your life. You could also call it a memory mobile if it doesn’t make a noise in the wind.
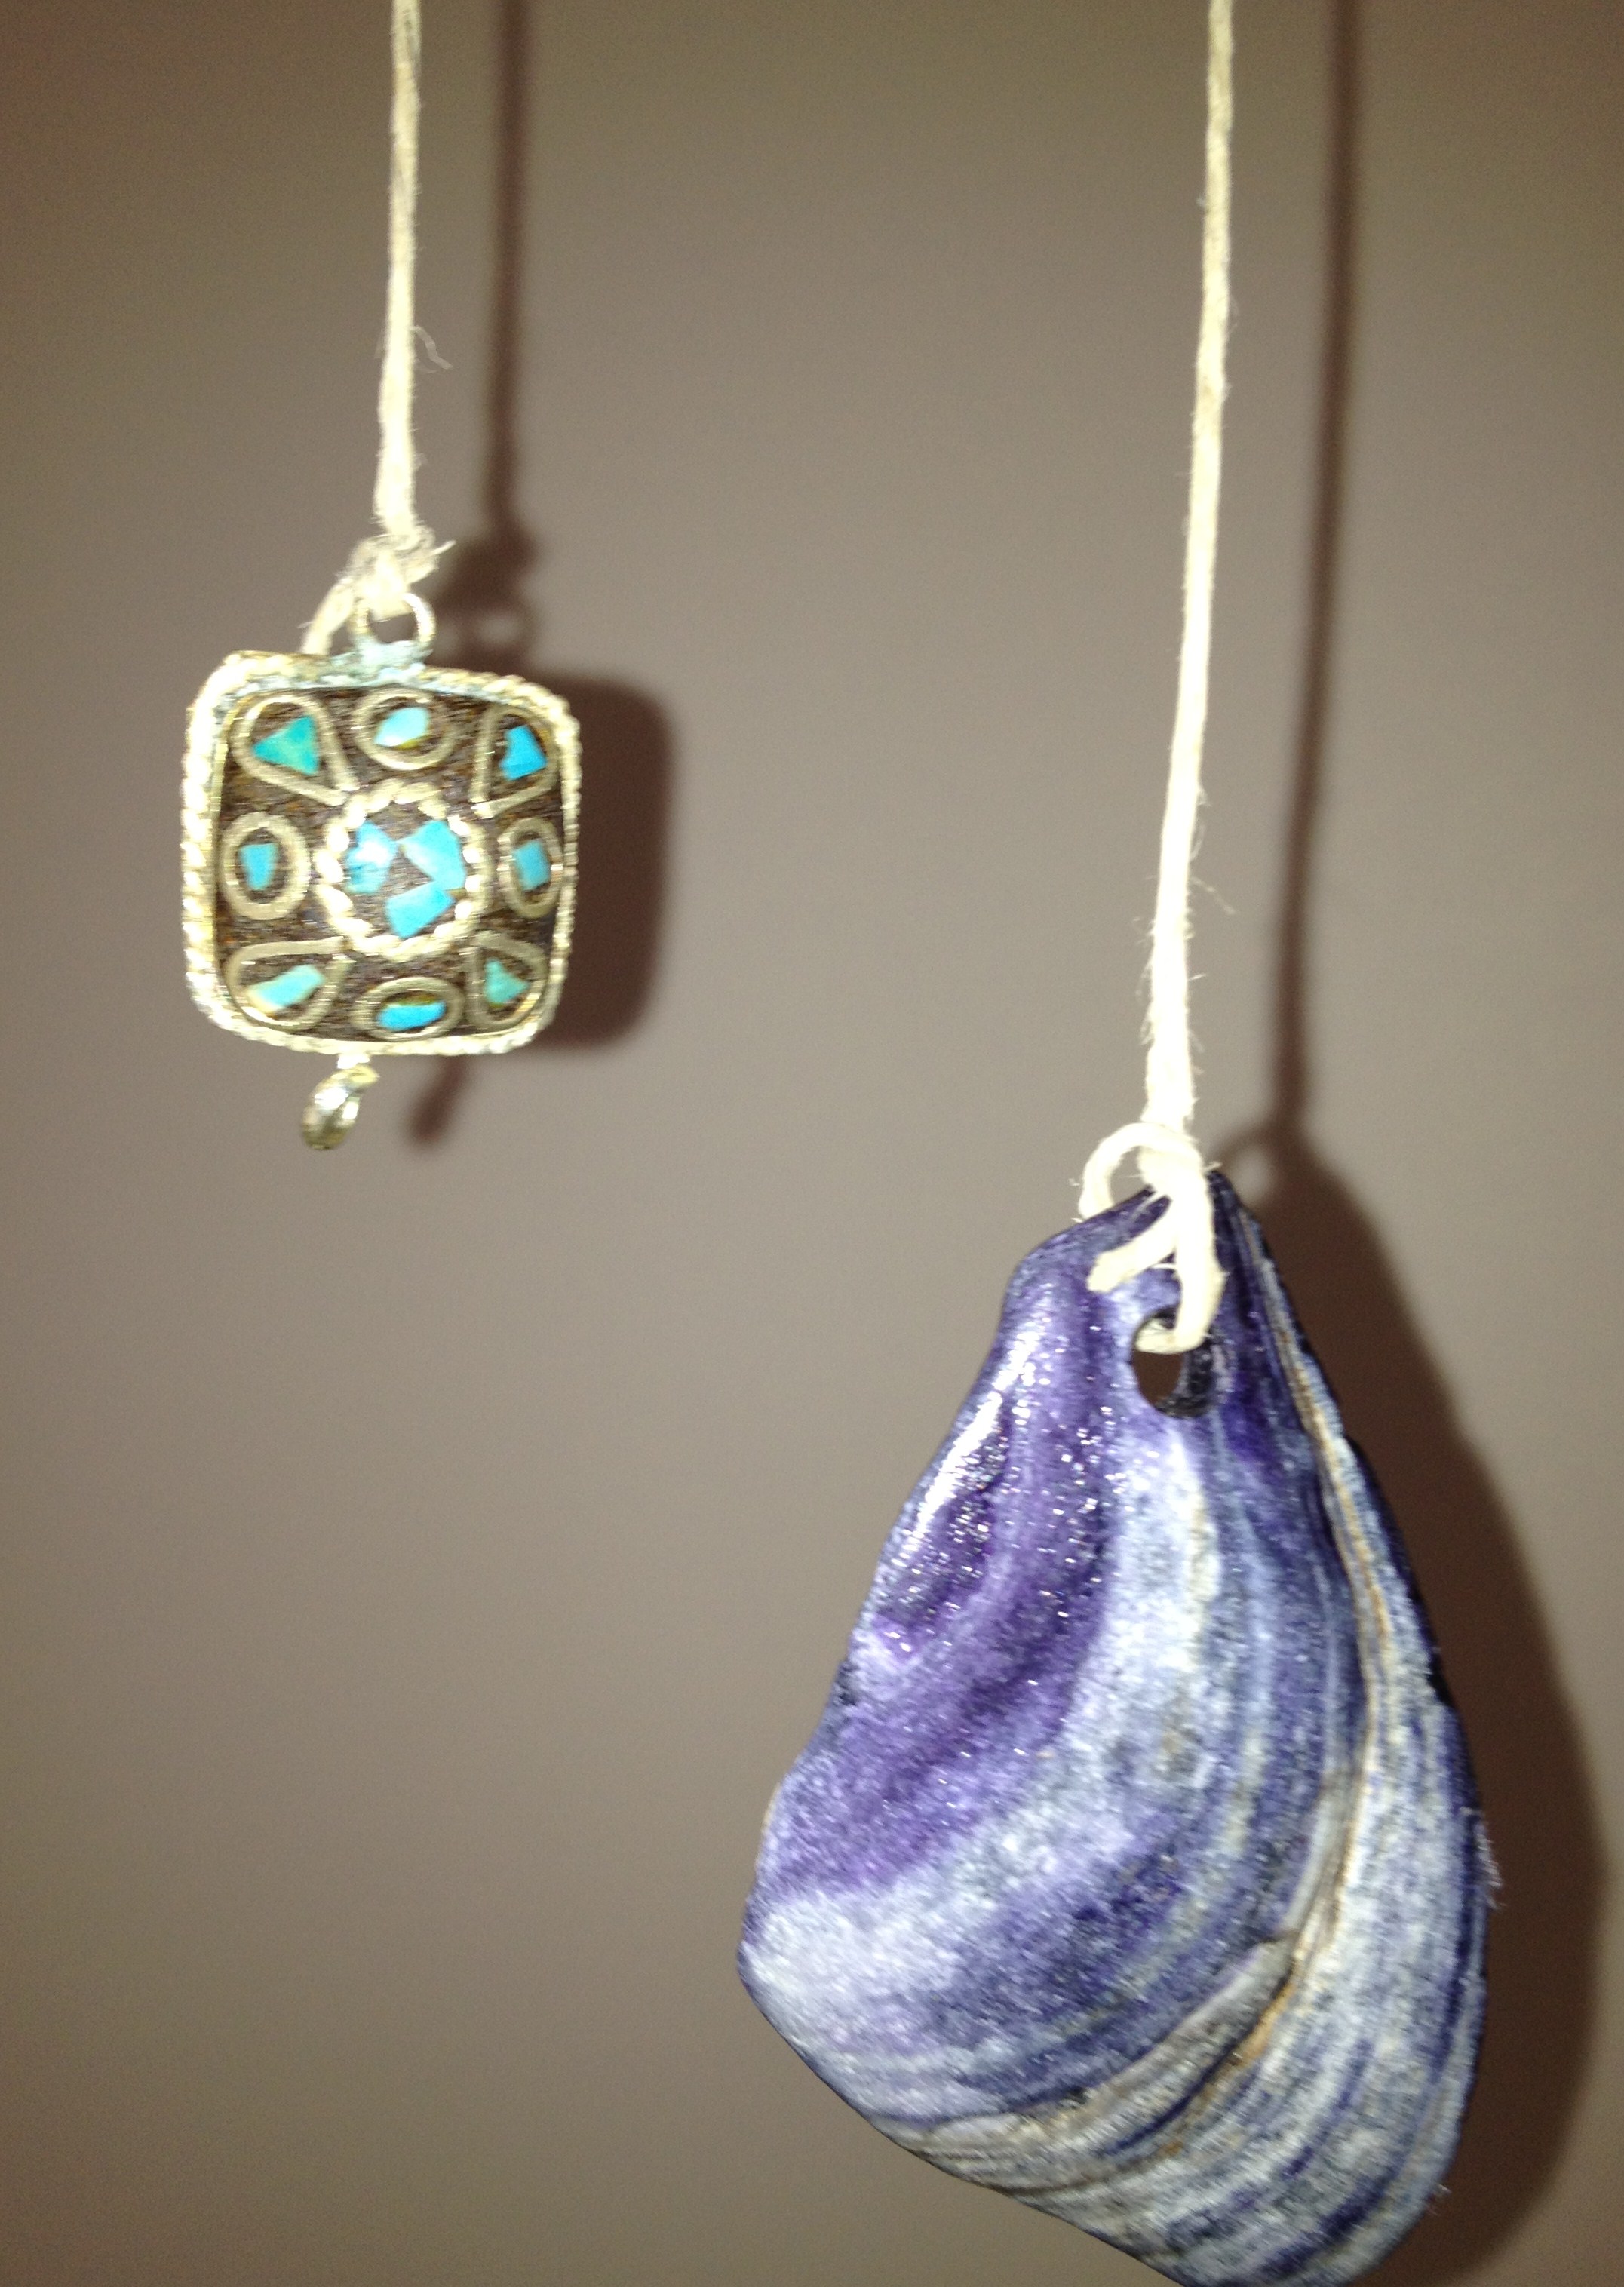
As part of the ritual of our wedding day, I bought my husband some Tibetan jewellery and Indian housewares that were romantic but completely impractical for a guy who works on a building site every day. So pieces of the jewellery, plus the shells are what I used to make my chime.
Directions:
- Choose your trinkets and think about how you are going to thread them. I drilled holes in my shells and the bracelet charms already had holes. You can use strong glue to secure to your yarn, but a hole is going to work much better.
- Cut your yarn/string/wire. You may want to go for a spiral effect in which case you will need to measure your yarn before cutting. I went for a more nonchalant approach and just cut the yarn into various sizes with no rhyme or reason!
- Thread trinkets with yarn, leather or fishing wire. I chose fine twine for my project. You can also put a little bell at the end of each piece of string if your chime won’t make much noise on its own. The bells give a lovely tinkle of noise when the wind blows.
- Find one or two sticks to hold the trinkets. I used driftwood from my local beach. I used one stick for mine, but you can use two sticks criss-crossed over each other. This works well if you have a lot of charms to string.
- Tie trinkets to wood.
- Tie a piece of string to each end of the stick holding the charms (if using two sticks, you have a choice here, either string all end of the wood or if you can get a good balance string up from the centre). Make the string as long as necessary dependent on how low you want your chime to hang. Tie the two pieces together. I used an old curtain rail ring to tie to the string which gave me a perfectly balanced chime.
- Find yourself a hook and off you go!

Beautiful Memory Chimes
This is a really fun project for kids. I’d like to do a stuffed toy mobile eventually, and an old toy mobile so the toys my son has outgrown but still loves, are still around. (A nice piece of nostalgia for me too!)
Speaking of kids’ toys, next week, I will be upcycling an old chair into an Antarctic paradise for my little guy! Stay tuned!
Amber R Bosma
Marketing Manager at UsedEverywhere.com. Lover of yoga, bees, red wine, rock n roll music, good books and mountain views.
rebecca
Amber, I LOVE this! So many possibilities.
Amber R Bosma
I know! I really want to do an old toy mobile, I think it would look cool in a kid or baby room. Or even a baby’s old stuff mobile, imagine being presented with that when you hit 21. I am SO nostalgic for stuff like this 🙂
Urban Girl
Cute – love this idea for wind chimes – it’s great if it has sentimental value!
and the drift wood completes it so well!