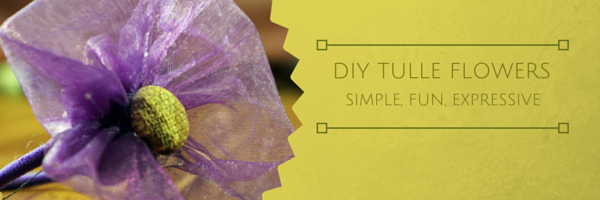
DIY tulle flowers
Pinterest is filled with tutorials for tulle projects and after a few hours of browsing images, reading tutorials, and trying different styles of tulle flowers I chose my favourite method: the easy way.
I can’t point to one tutorial because I chose a combination, which I found the most straightforward. I’ve outlined the steps in the image and at the end of this post, I’ll link to three tutorials I found inspirational.
Here is what you need
Tulle, scissors, needle and thread, glue gun, hair tie, button or notion (for decoration).

Here is what you do
To make a small flower like I’ve made, cut your tulle into strips of 3″ by 10″. Fold the tulle lengthwise.
Next, thread your needle and begin sewing the tulle together.
Start with the bottom, move up the side (the side with the open ends), and then finish with the top. Cinch the thread and you’ll see a magical flower appear.
Arrange to your liking then, after securing the thread, glue to your hair tie (or barrette, hairband, etc.) and voila, finished!
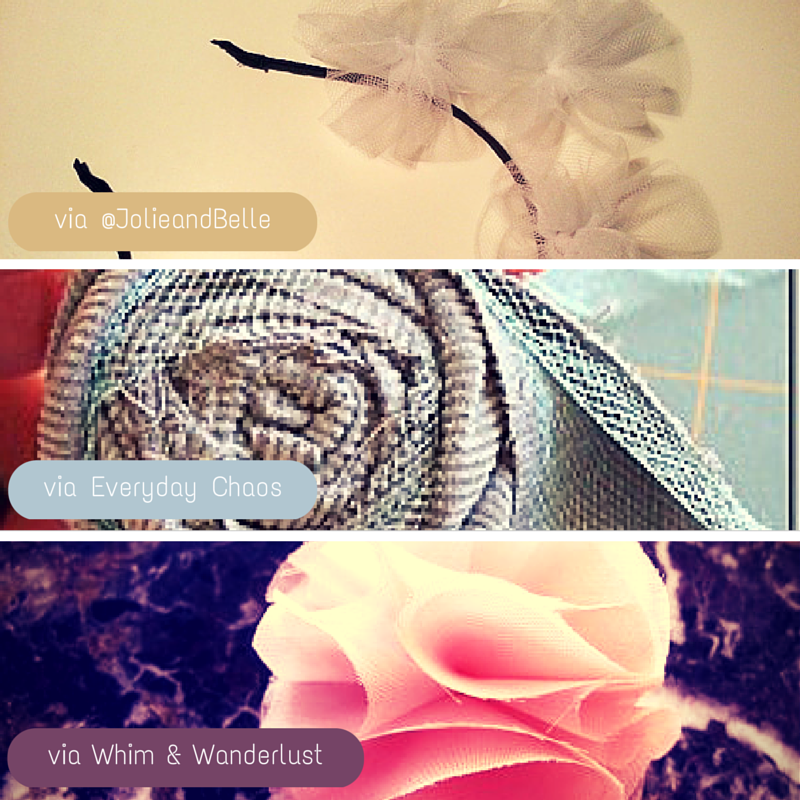
Here are the main tutorials I used for inspiration for this project.
- First, I loved how simple Jolie and Belle made this tutorial. It’s easy to follow, clear, and has lots of photos to help.
- Next, although the project focuses on fabric, the tutorial on Everyday Chaos is beautiful and inspirational. I must do these soon.
- Last, these flower pom poms over on Whim & Wanderlust showcase a creative way to sew the tulle together. Plus they’re beautiful!
Robyn Roste
Working full time as a writer, editor and audio broadcast producer should be enough. But instead of resting after a long work day Robyn sets to creating havoc in her space by attempting more DIY, upcycle and knitting projects than she has room for. Her husband is a patient man.
Annabelle
I really love this DIY tulle flowers. Thanks for the great tutorial.
I shared it on this blog.