Reupholstering and painting: reinventing a tired, chipped chair
Recently I was out on a thrifting day (I have about three of those a week) when I came across a cute little Duncan Phyfe style chair at the Salvation Army that wanted to come home with me. Naturally, as the kind of person who just can’t say no to a chair, I loaded it up in the station wagon and began dreaming.
new paint and fabric, please!

I’ve refinished many chairs in my lifetime, and for the most part, they’re pretty easy. Any chair that made of wood can be painted. Any chair with a removable seat can be reupholstered fairly simply. This particular chair needed both, with the added bonus of requiring new foam.
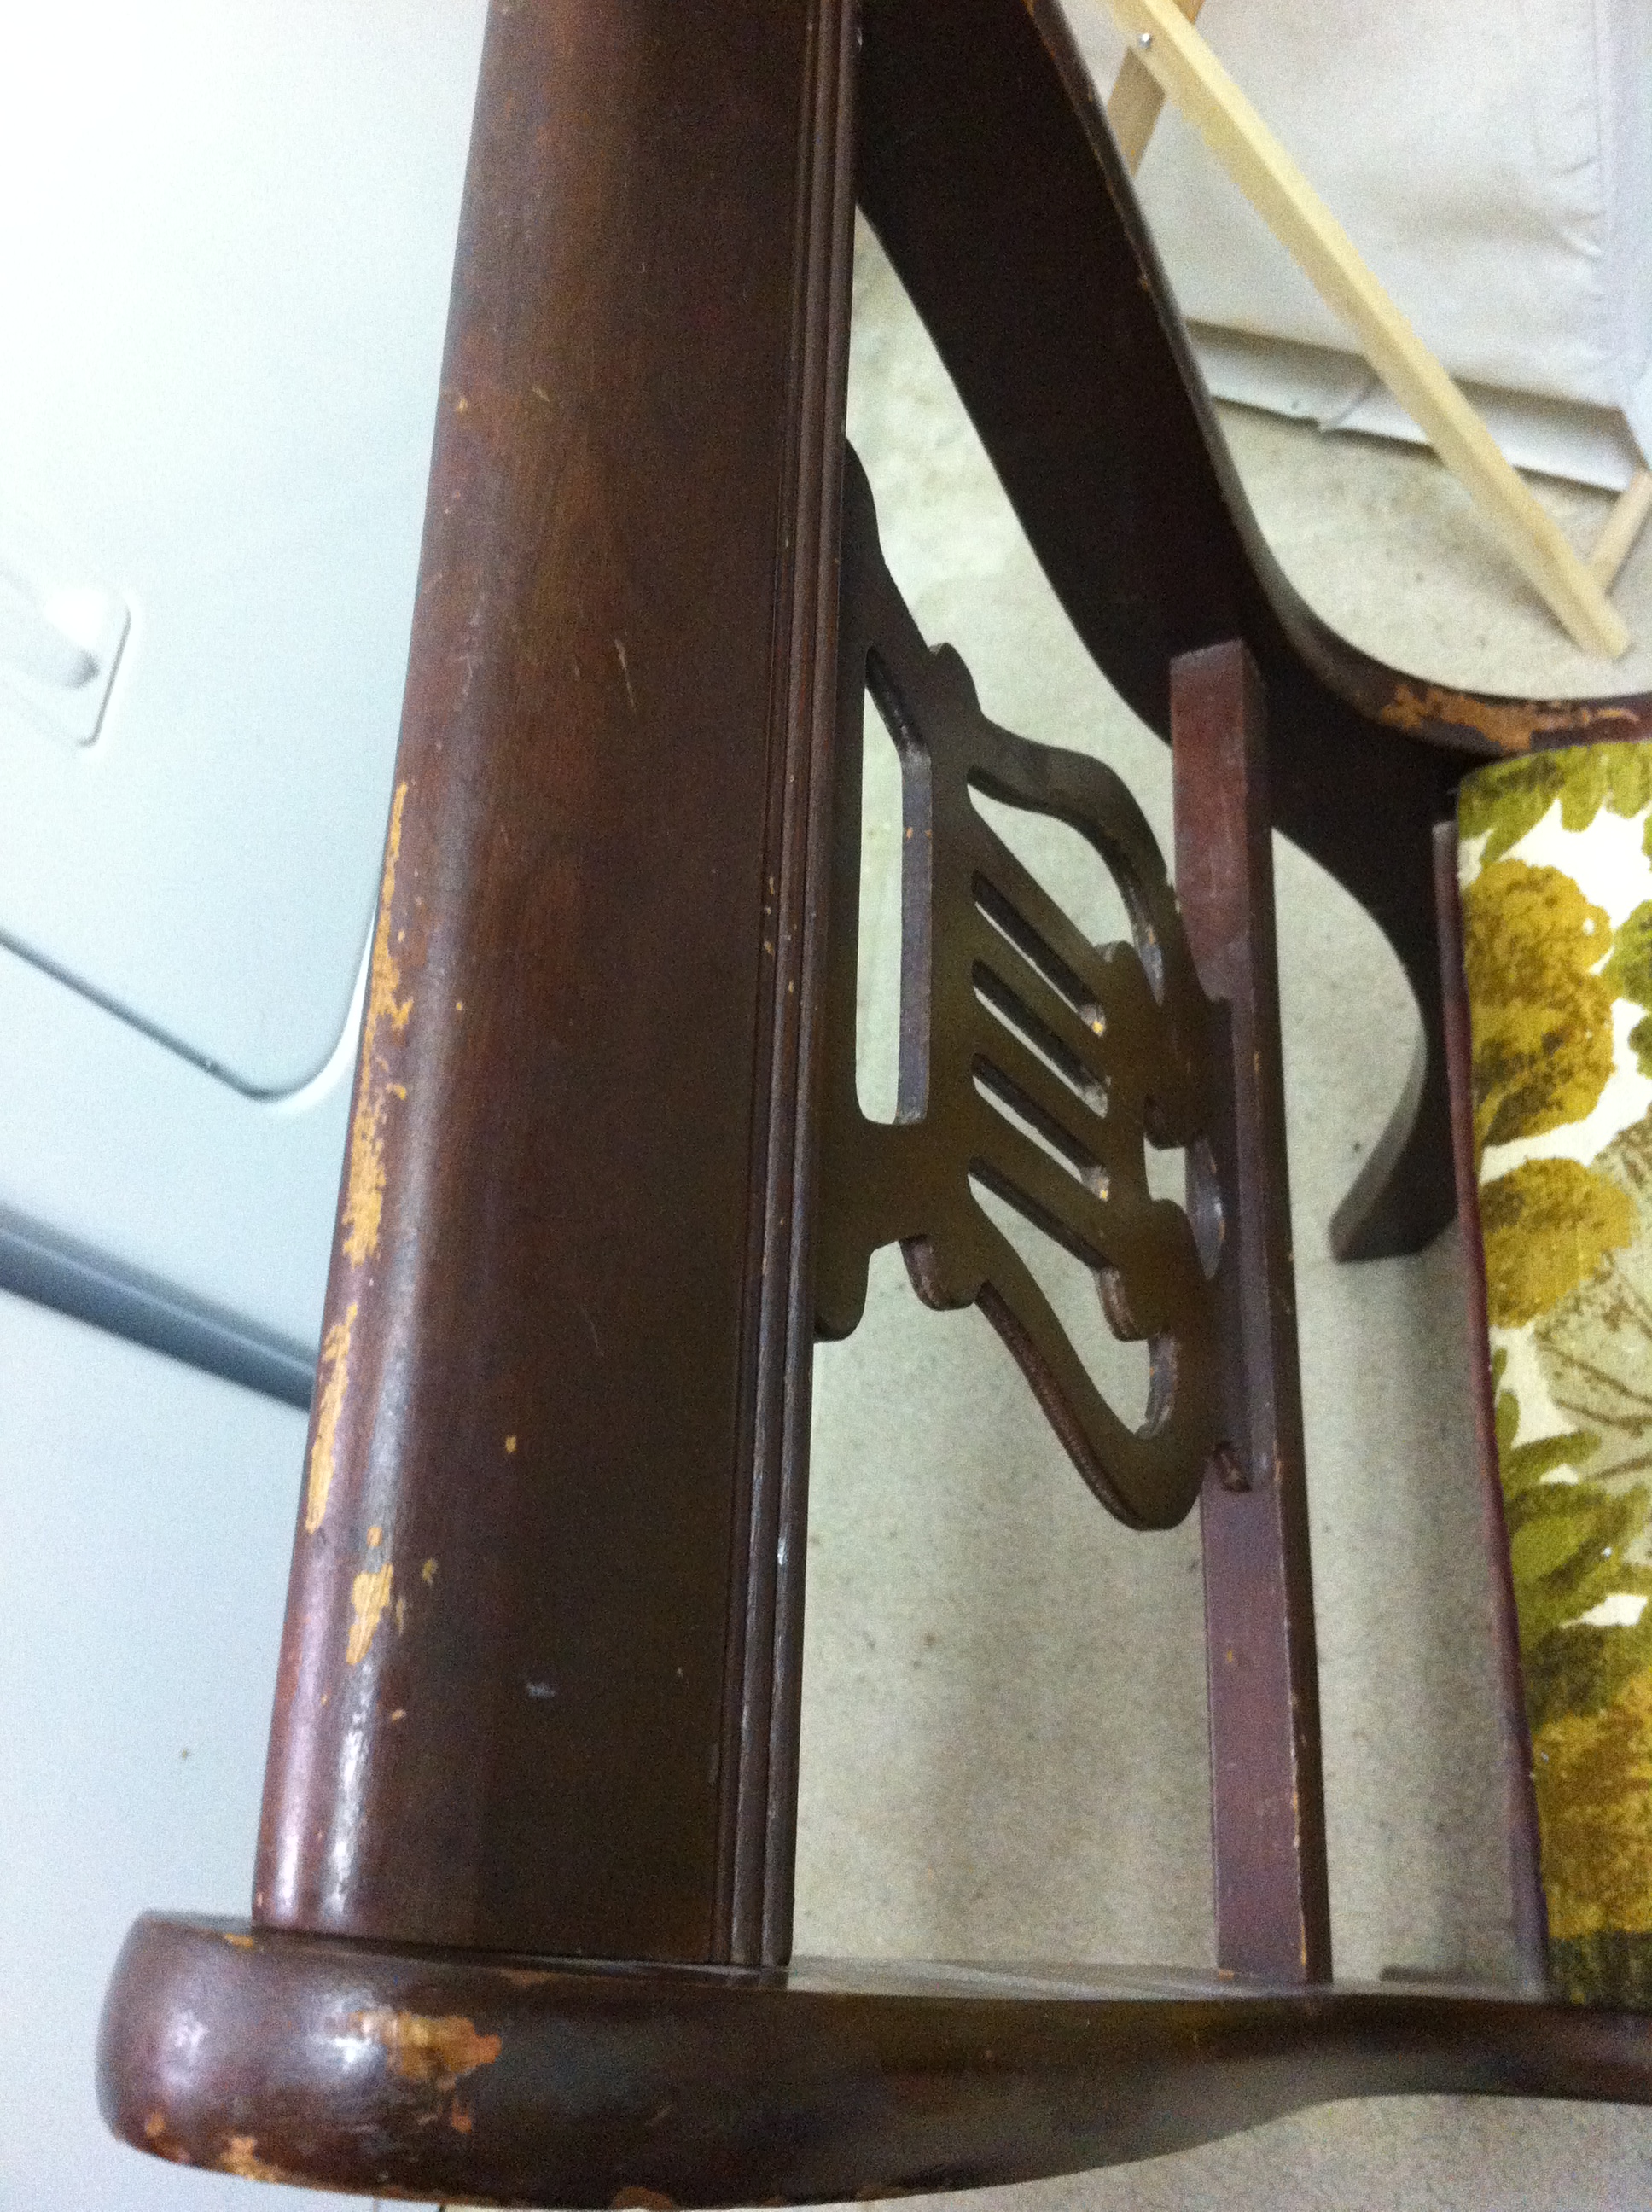
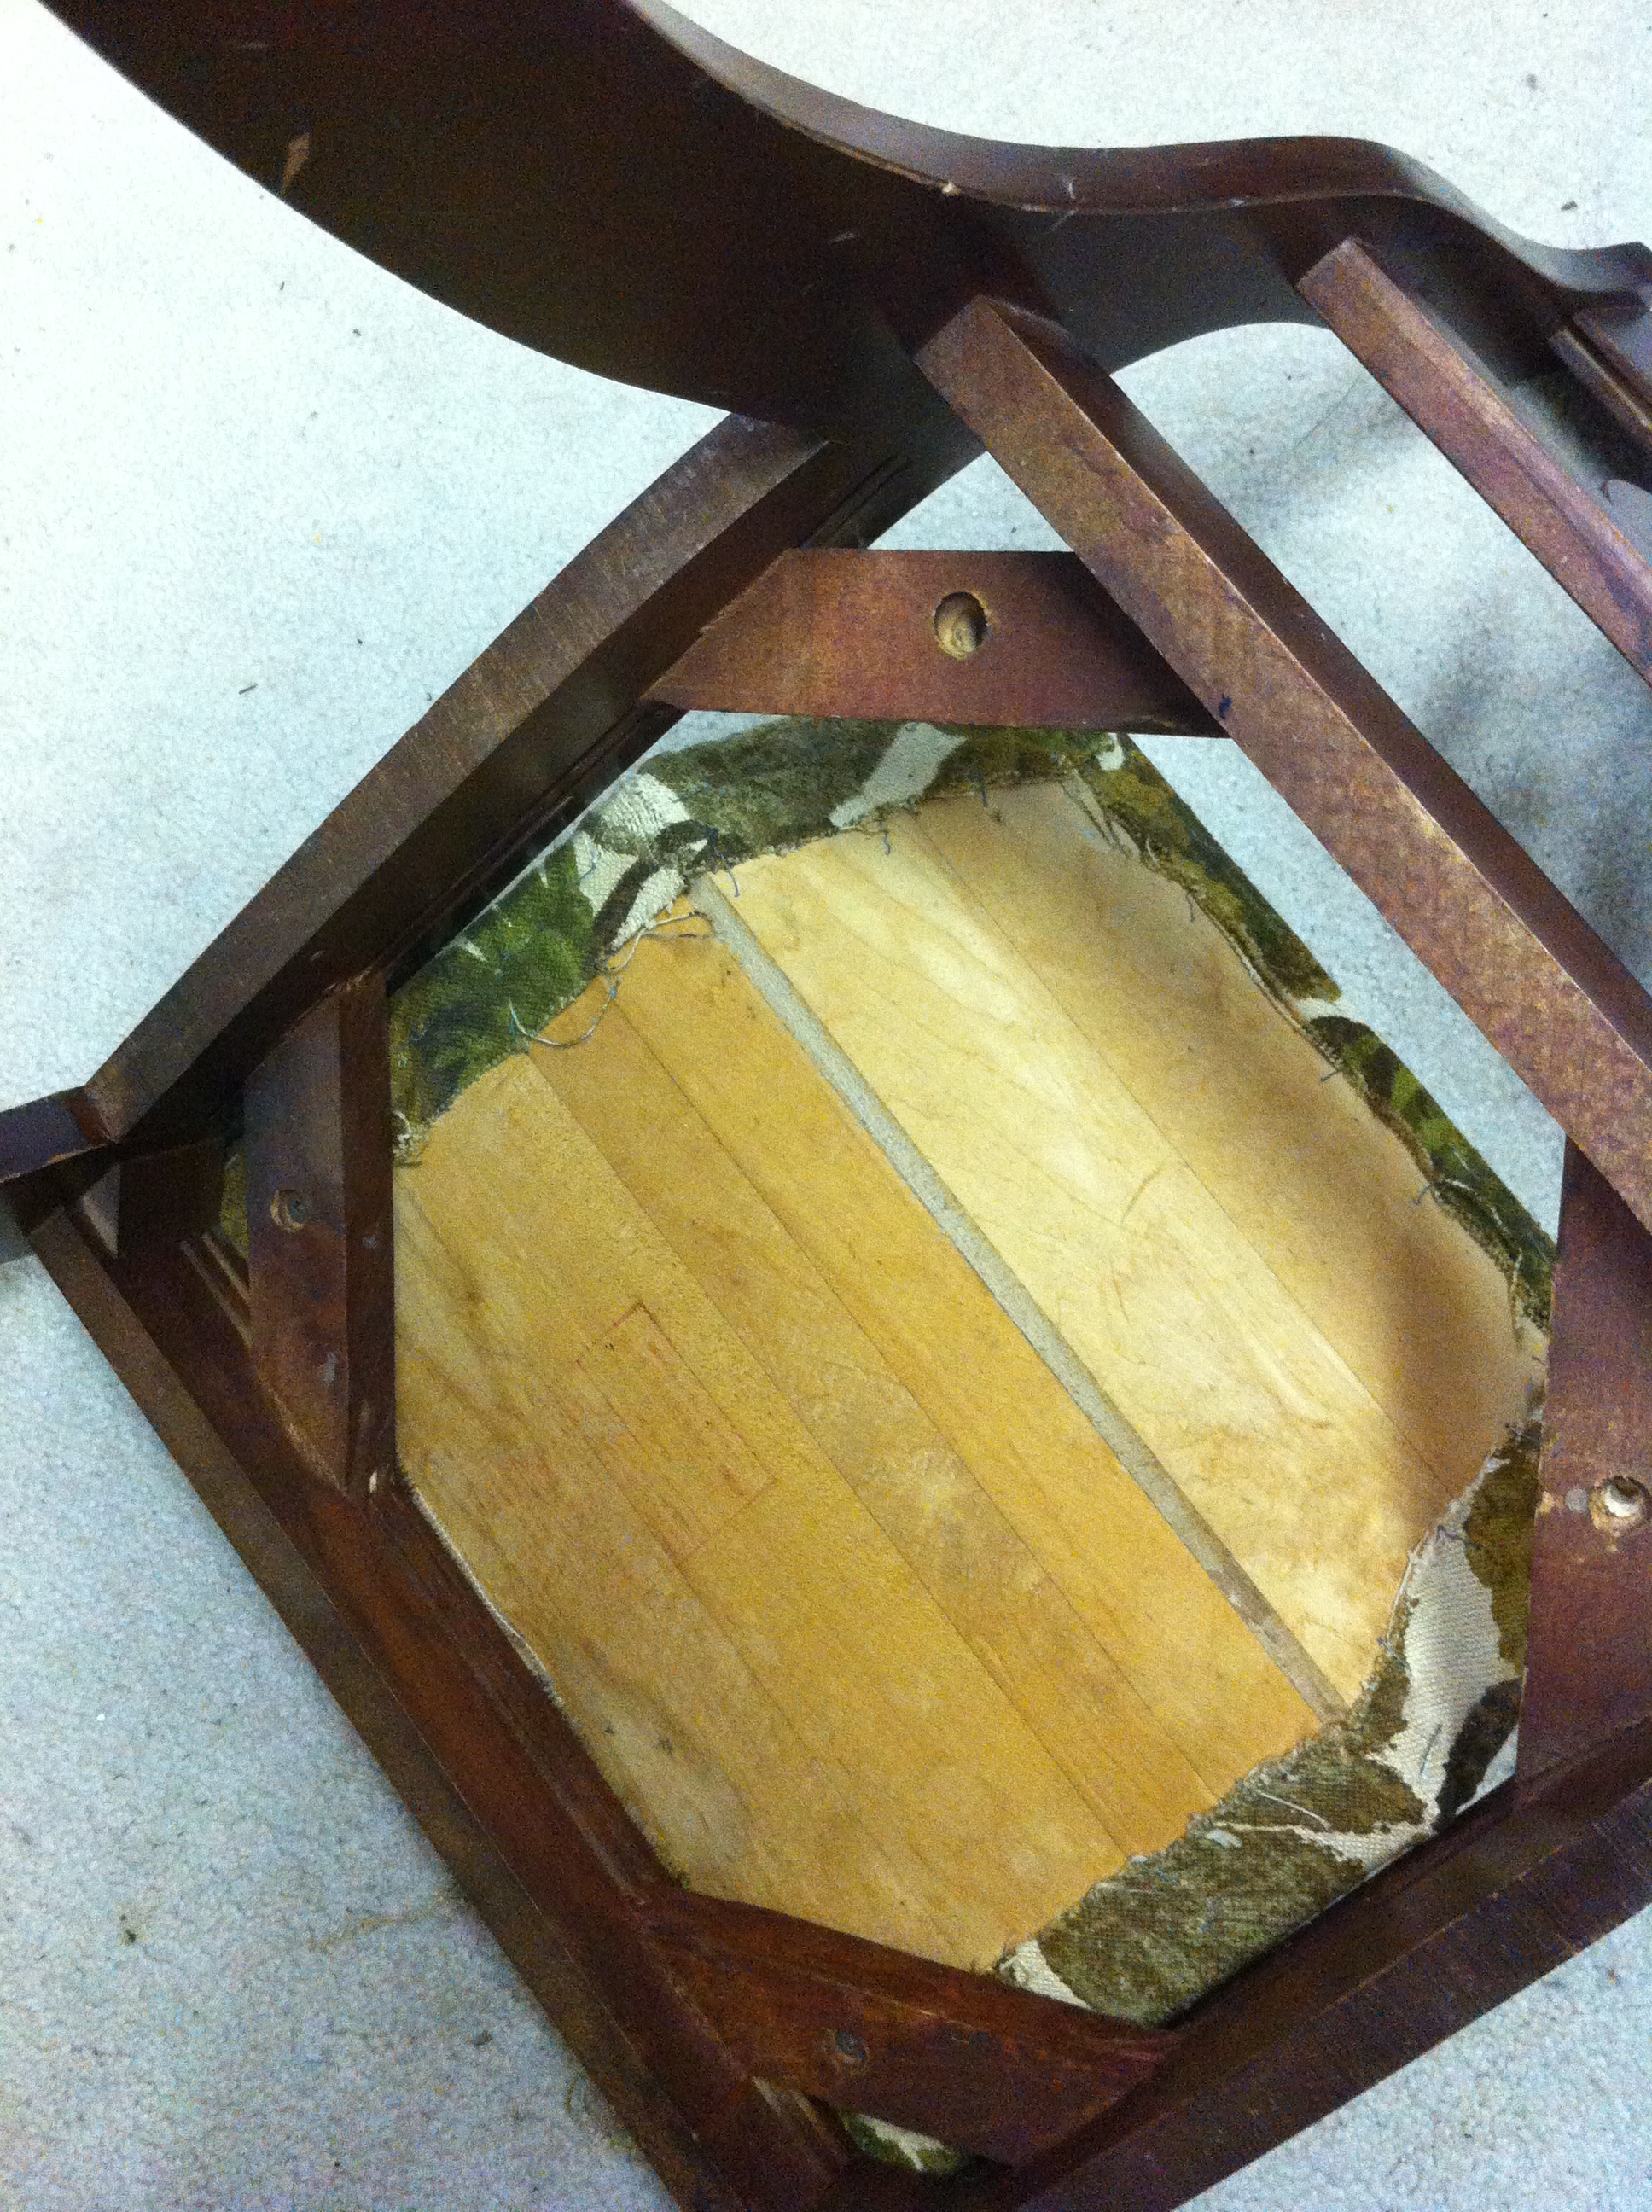
As you can see in the picture, the padding was the older style cotton batting type that you find pretty frequently in later mid century (yes this is a period, at least in my mind) furniture redo’s. This was not the first time someone had made this chair pretty again. The fabric was probably from the late 60’s judging by the aged colour and pattern and well it just smelled like the 60’s.
The seat is made of wood strips glued together, but one had broken. I used bar clamps (care of my father-in-law) and wood glue to stick it back together. It was easier than I thought it would be!
I went to Rockland Textiles as per usual and bought a half yard of ½ inch foam. I also bought the fabric I wanted there. It was one I’d seen on a previous visit and was hoping to be able to use one day. Yeay! Convincing the lady who was helping me that I really only needed 1/2” foam took some work, but it is really important to keep the original silhouette, in my opinion, and the seats in these chairs are always pretty flush with the sides.
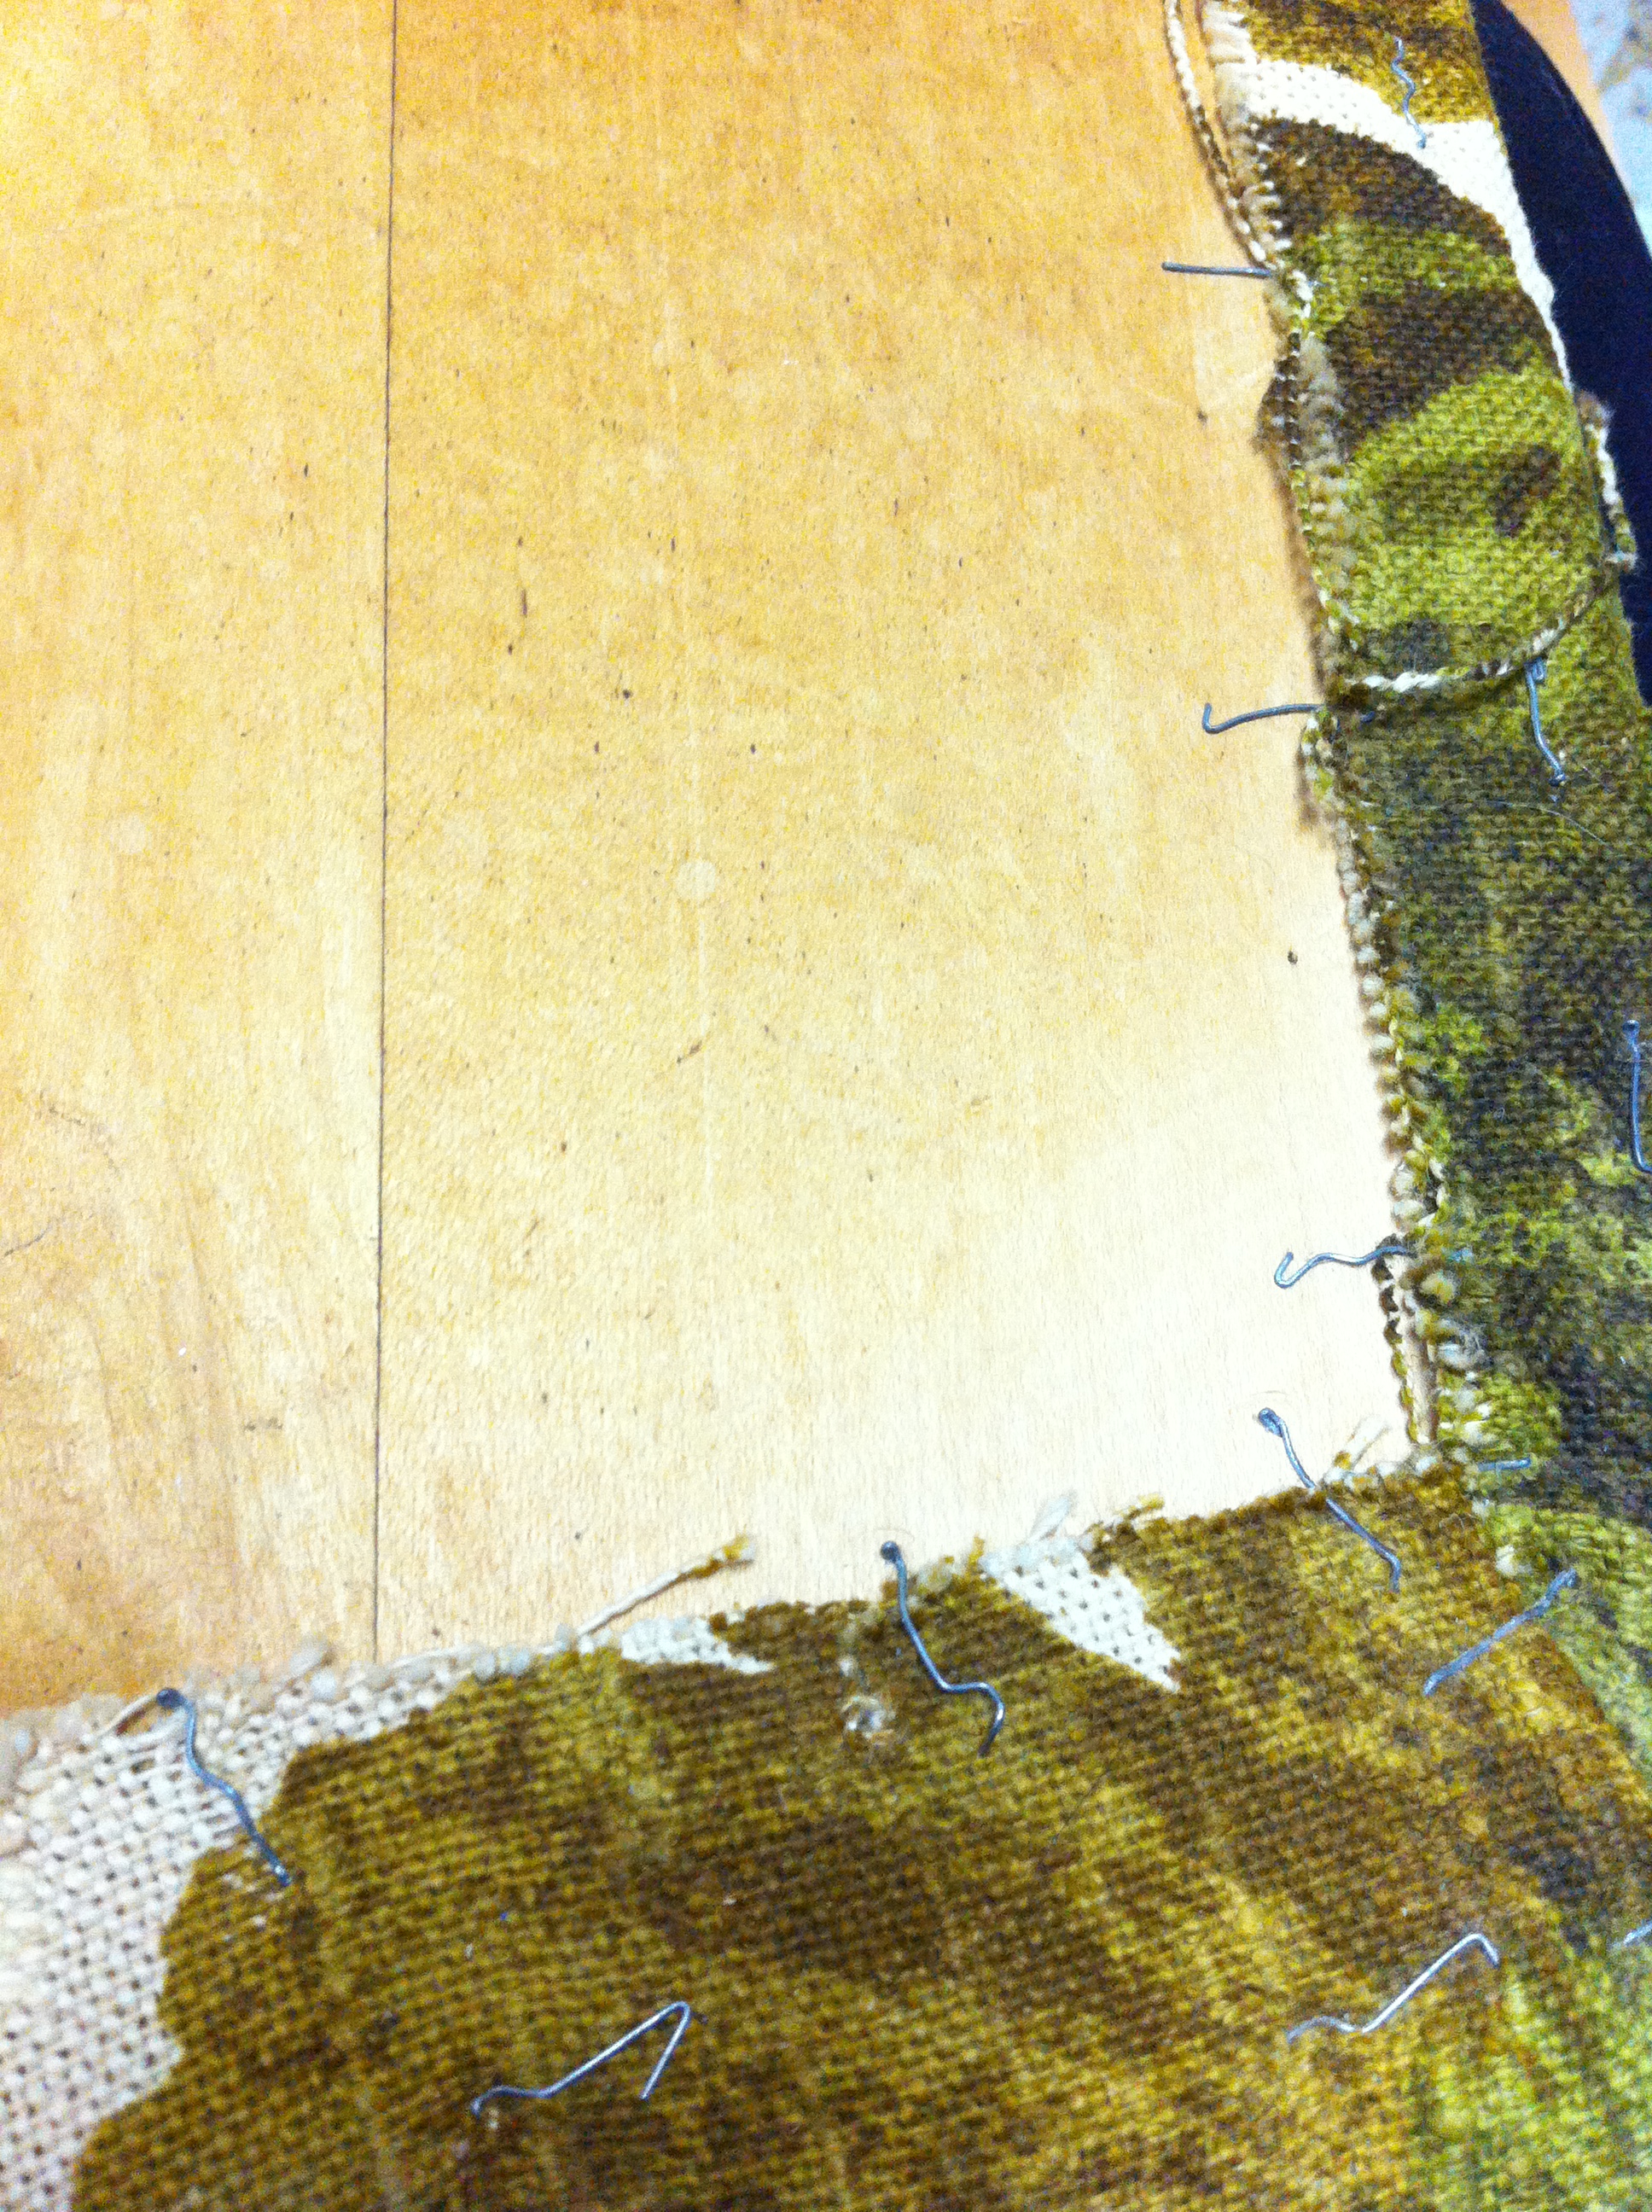
Pulling out the staples from the 60’s, quite frankly, sucked. I think that the person who came before me used a regular stapler with regular staples. They did not want to come out, but were also smashed so hard into the wood that they were deformed and there was also a million of them. So, take note future chair reupholsterers, use or borrow a staple gun, it will be so much easier for you and for whomever might inherit your project!!
Once that was done I cut out the foam using the seat as a guide. I left a bit of foam overhang so that the fabric would pull over nicely and there would be cushion for the back of your legs on the front of the seat. I used a spray adhesive to keep the foam steady while I placed the fabric on. This part was a little tricky as well, because the pattern needed to line up perfectly. Once that was done, I just stapled around the edges of the bottom of the seat, pulling on the fabric to keep the line nice and straight across the front. This was also tricky and took some practise to get used to. I pulled out a lot of staples in frustration on this chair!
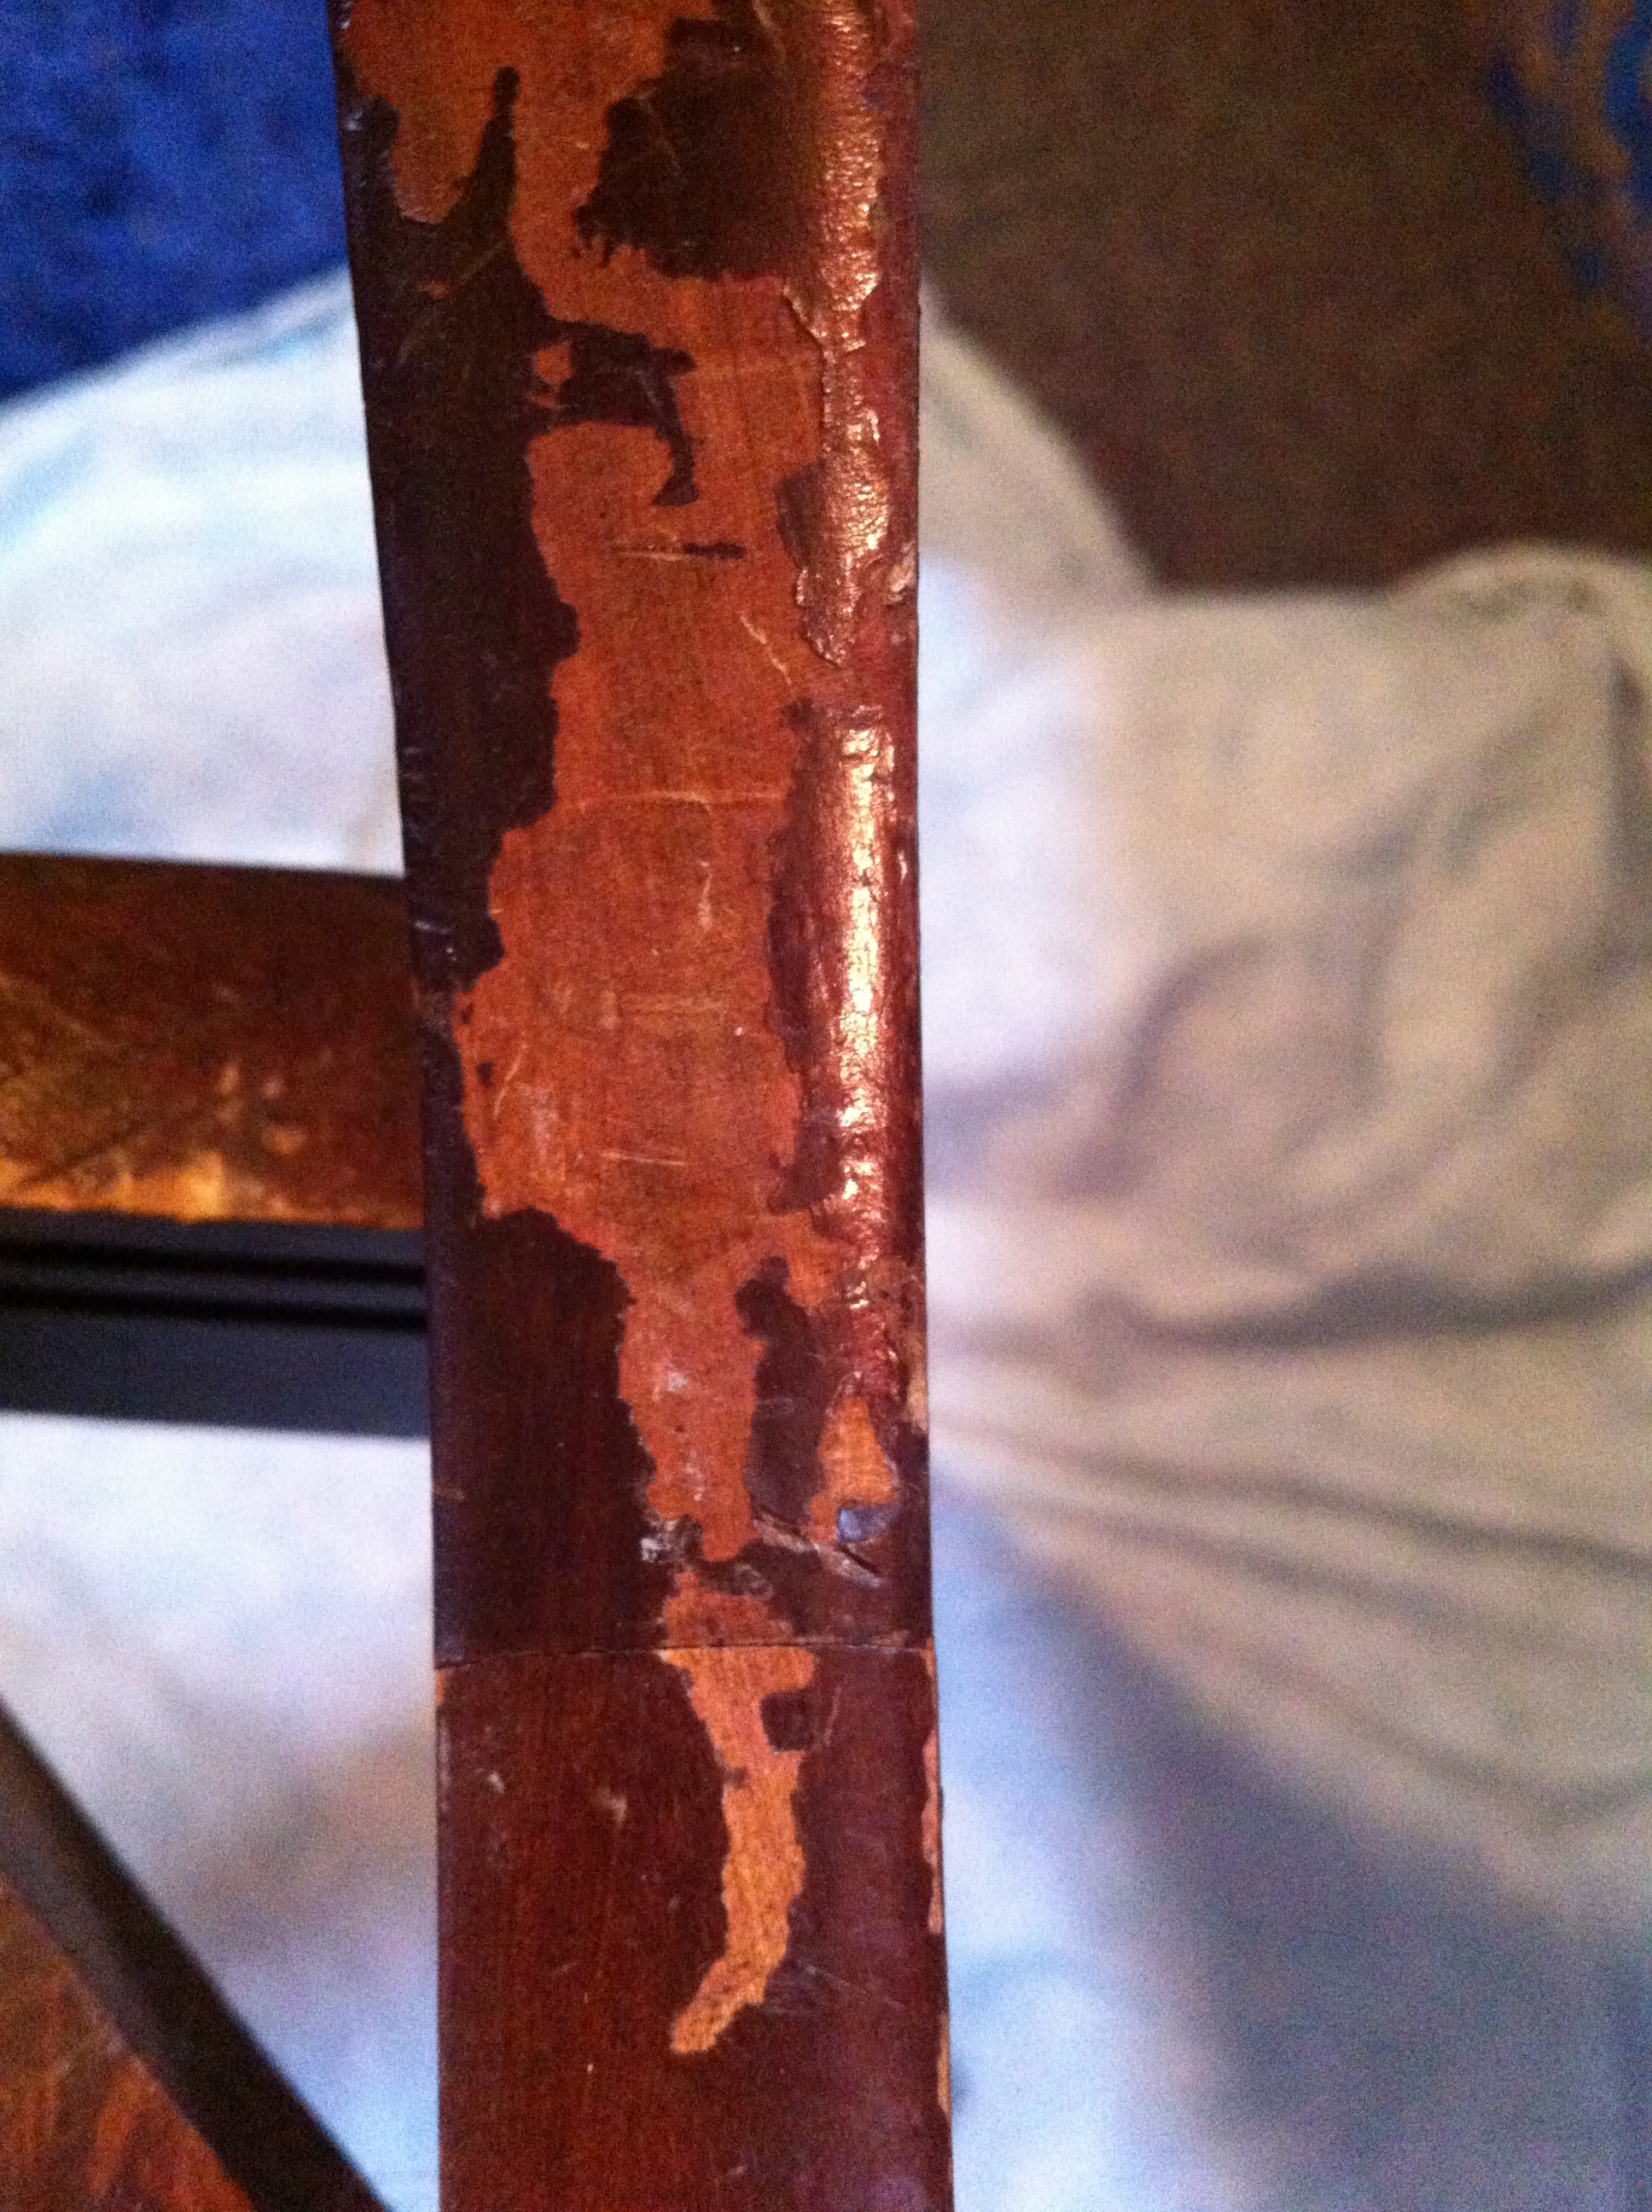
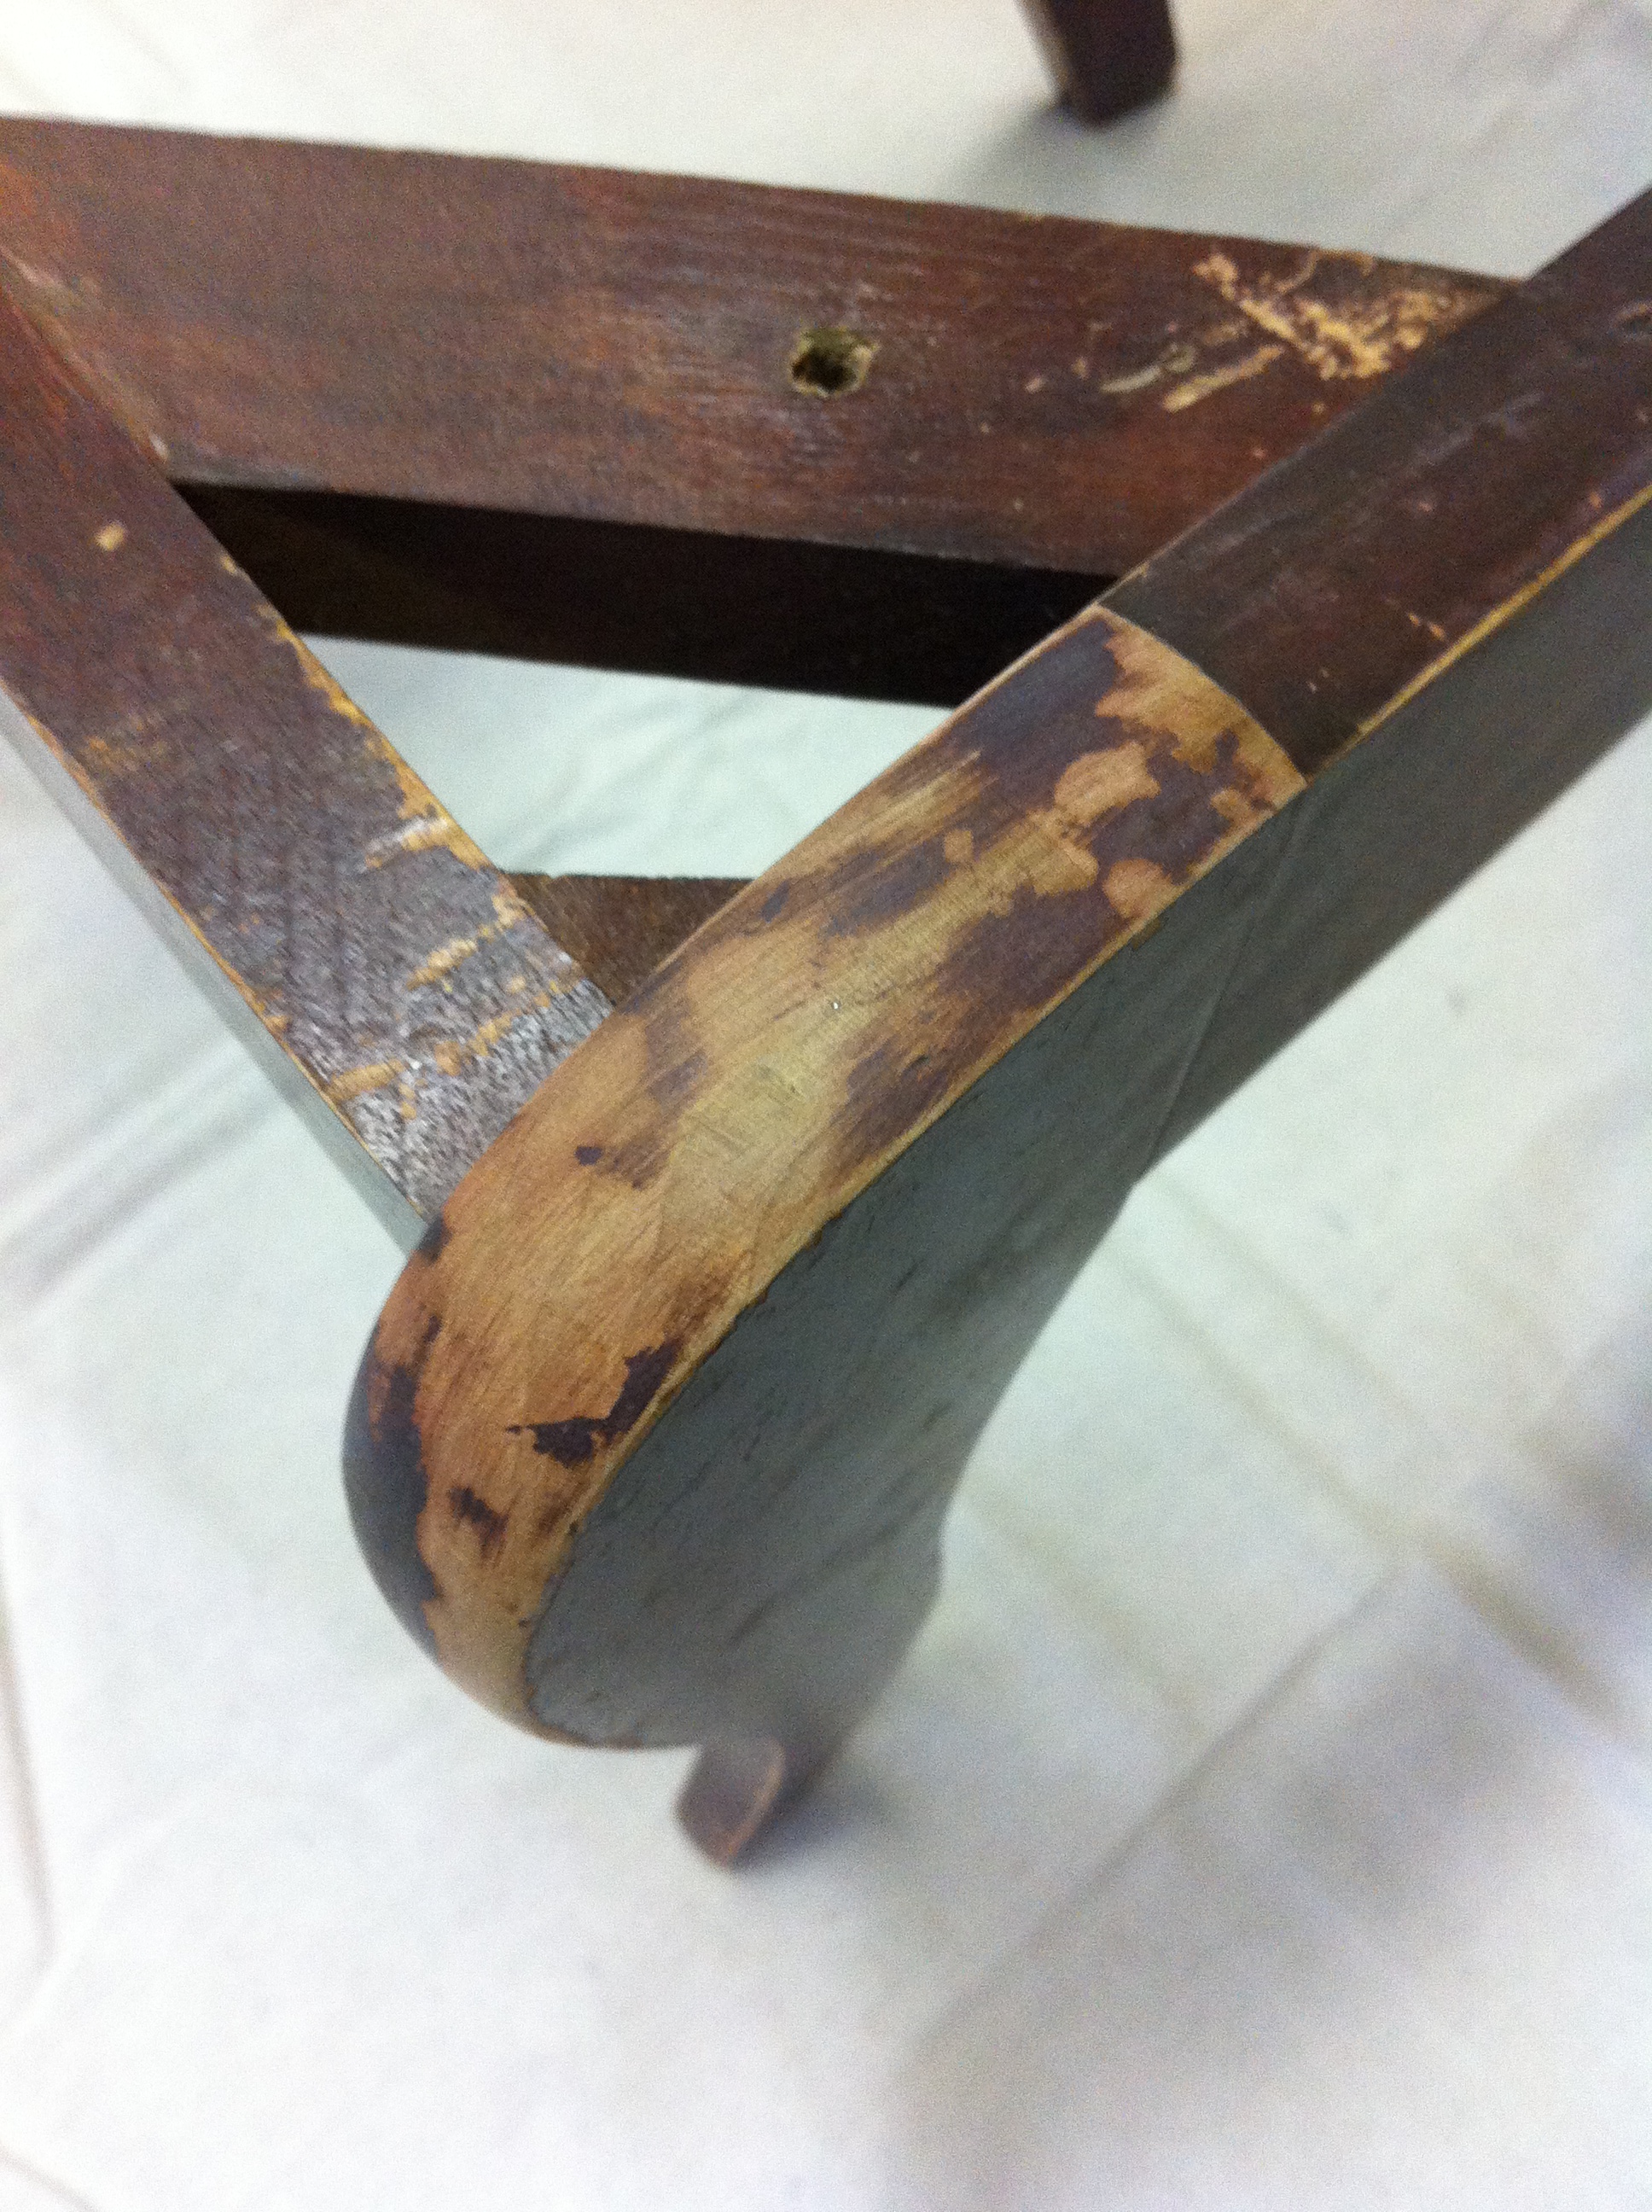
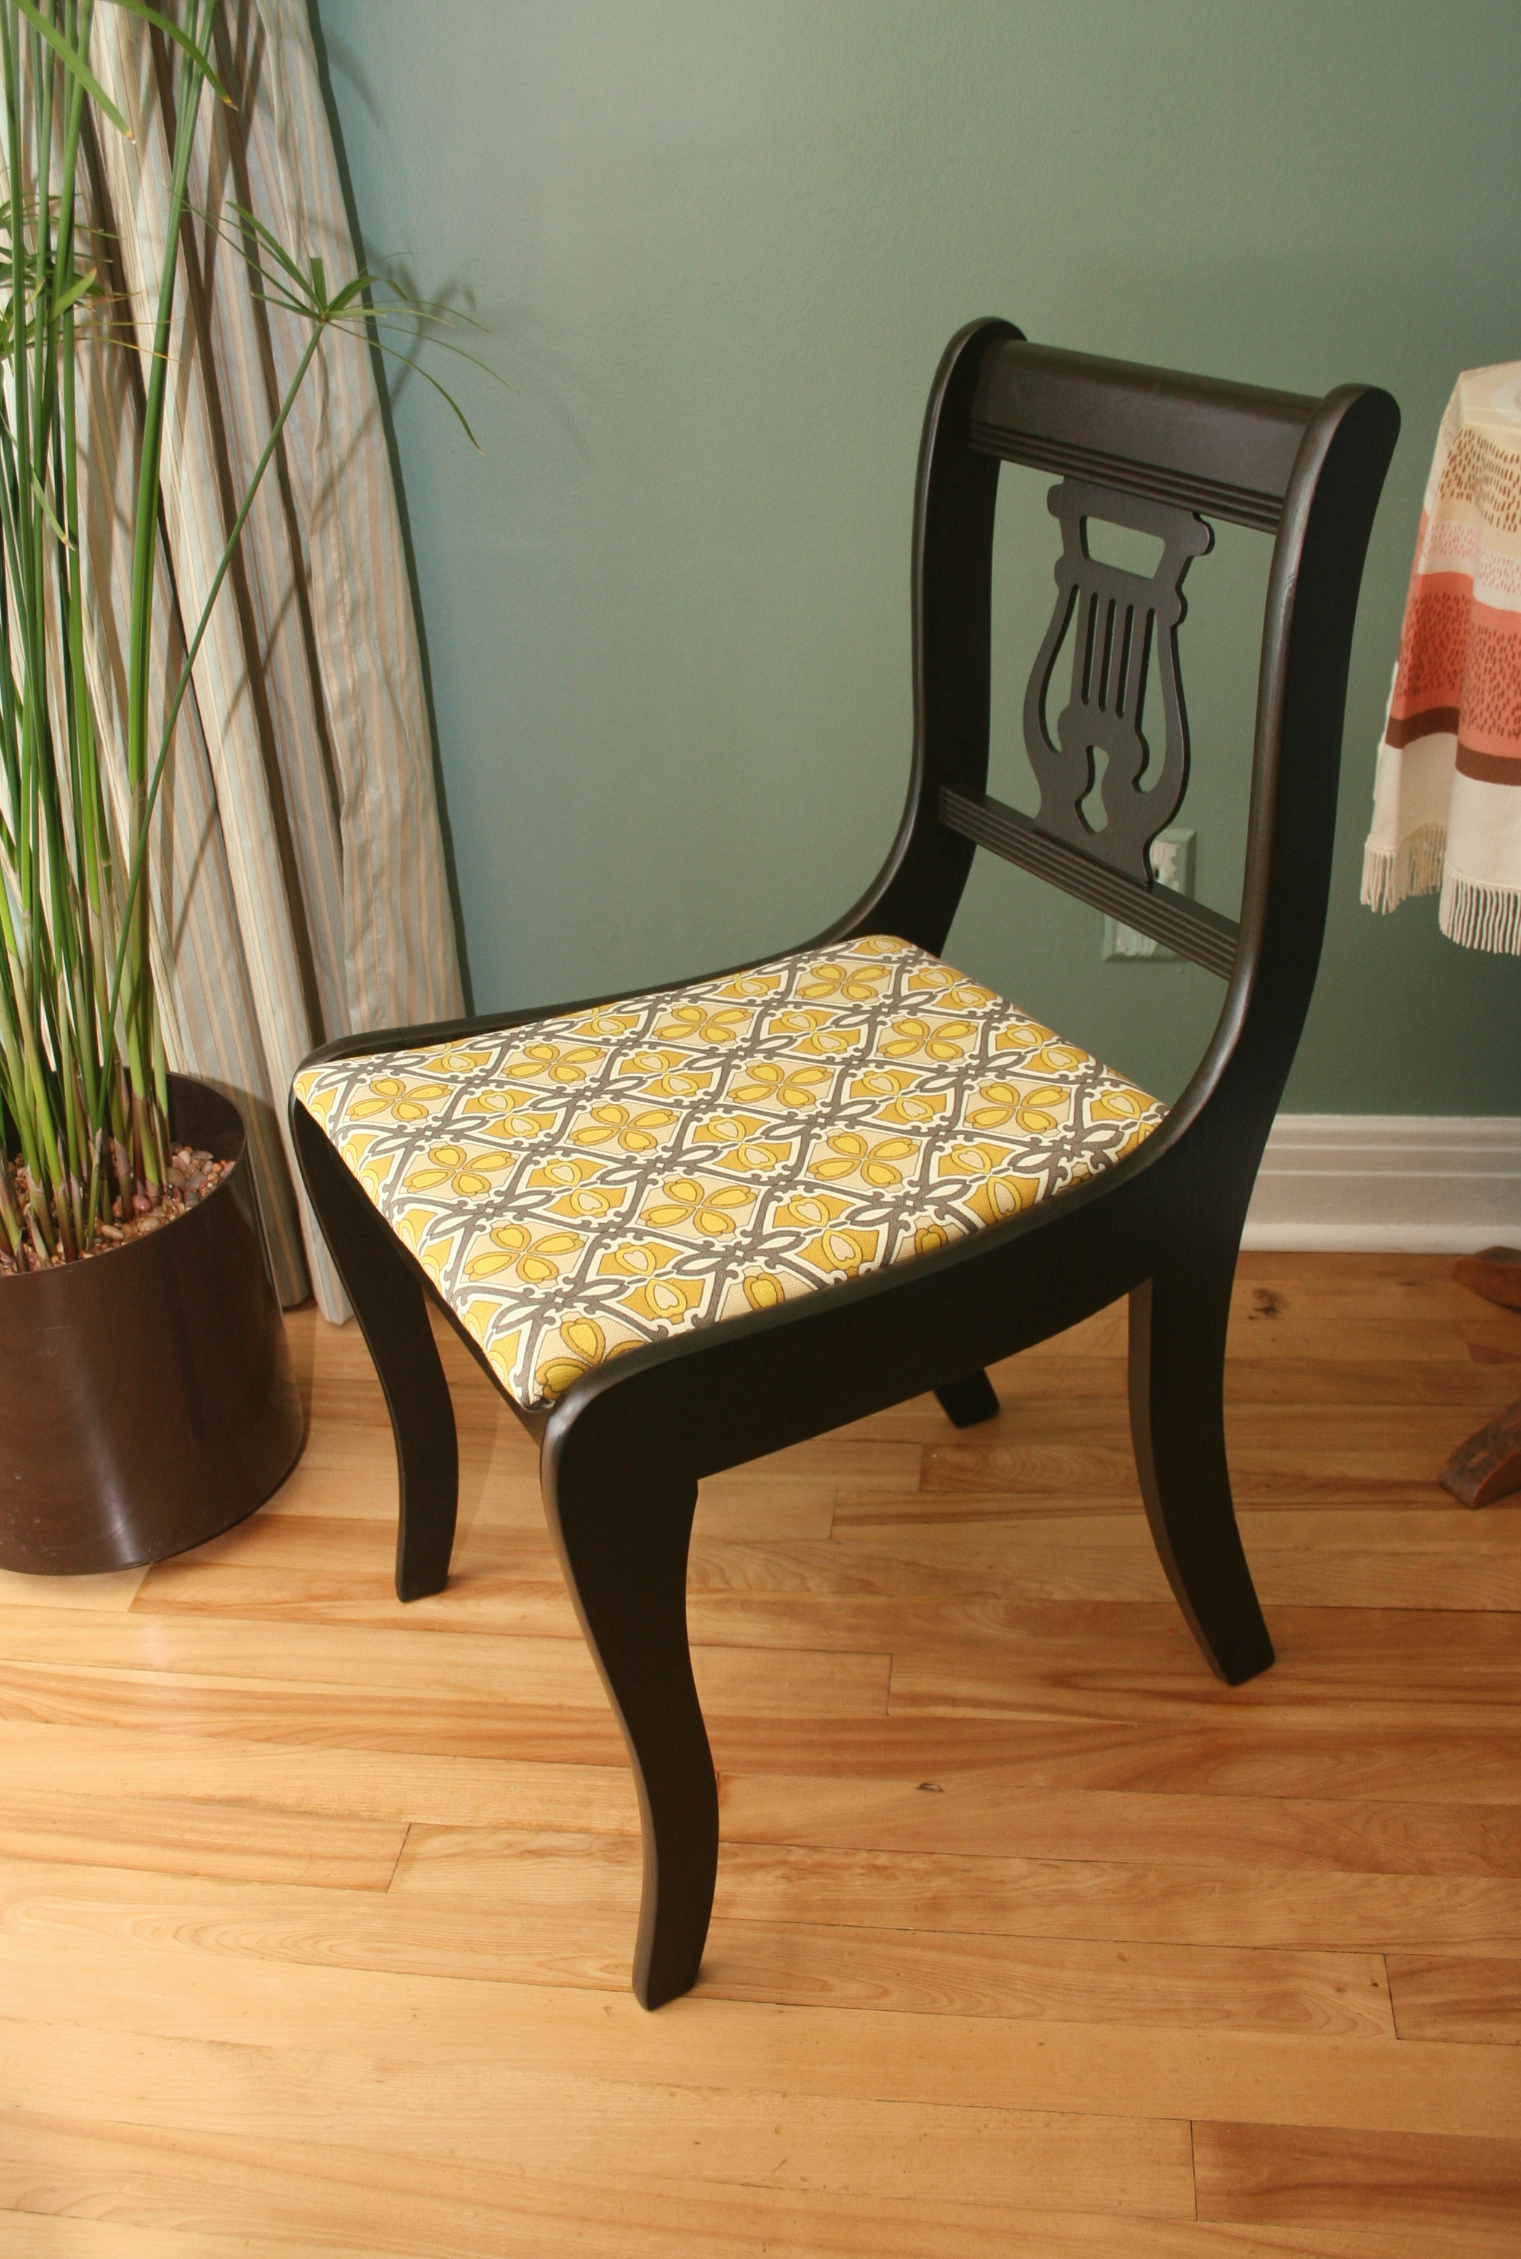
In the meantime I used a melamine paint in “Espresso Bean” to paint the frame. I sanded down the chipped areas but it was the original finish on them and it was pretty much stuck on the wood like glue so I just painted over the whole thing. It took two coats plus a few touchups to get it nice and even.
Next all I had to do was screw the seat back on and voila! A cute, modern chair with some art nouveau influences! Doesn’t the harp look good with the chain type pattern on the seat? I really think so! And so does my friend Lianne who now has a cute office chair for her birthday.