Easy isn’t always easy
Sometimes life presents us with challenges. Sometimes they are obvious, and sometimes they reveal themselves slowly and painfully. I’ve recently been lucky enough to have experienced the latter while working on some chairs that I’m refinishing. I am sure that anyone who has attempted “an easy job” has had one of these experiences too.
I try to remember that every challenge is a learning opportunity. I learn new techniques, new problem solving tools, new curses to bestow upon wood and metal and fabric that does not want to do what I want it to do.
Here are the problems I encountered, and the solutions. May you also learn from these and carry that information forward with you in your memory.
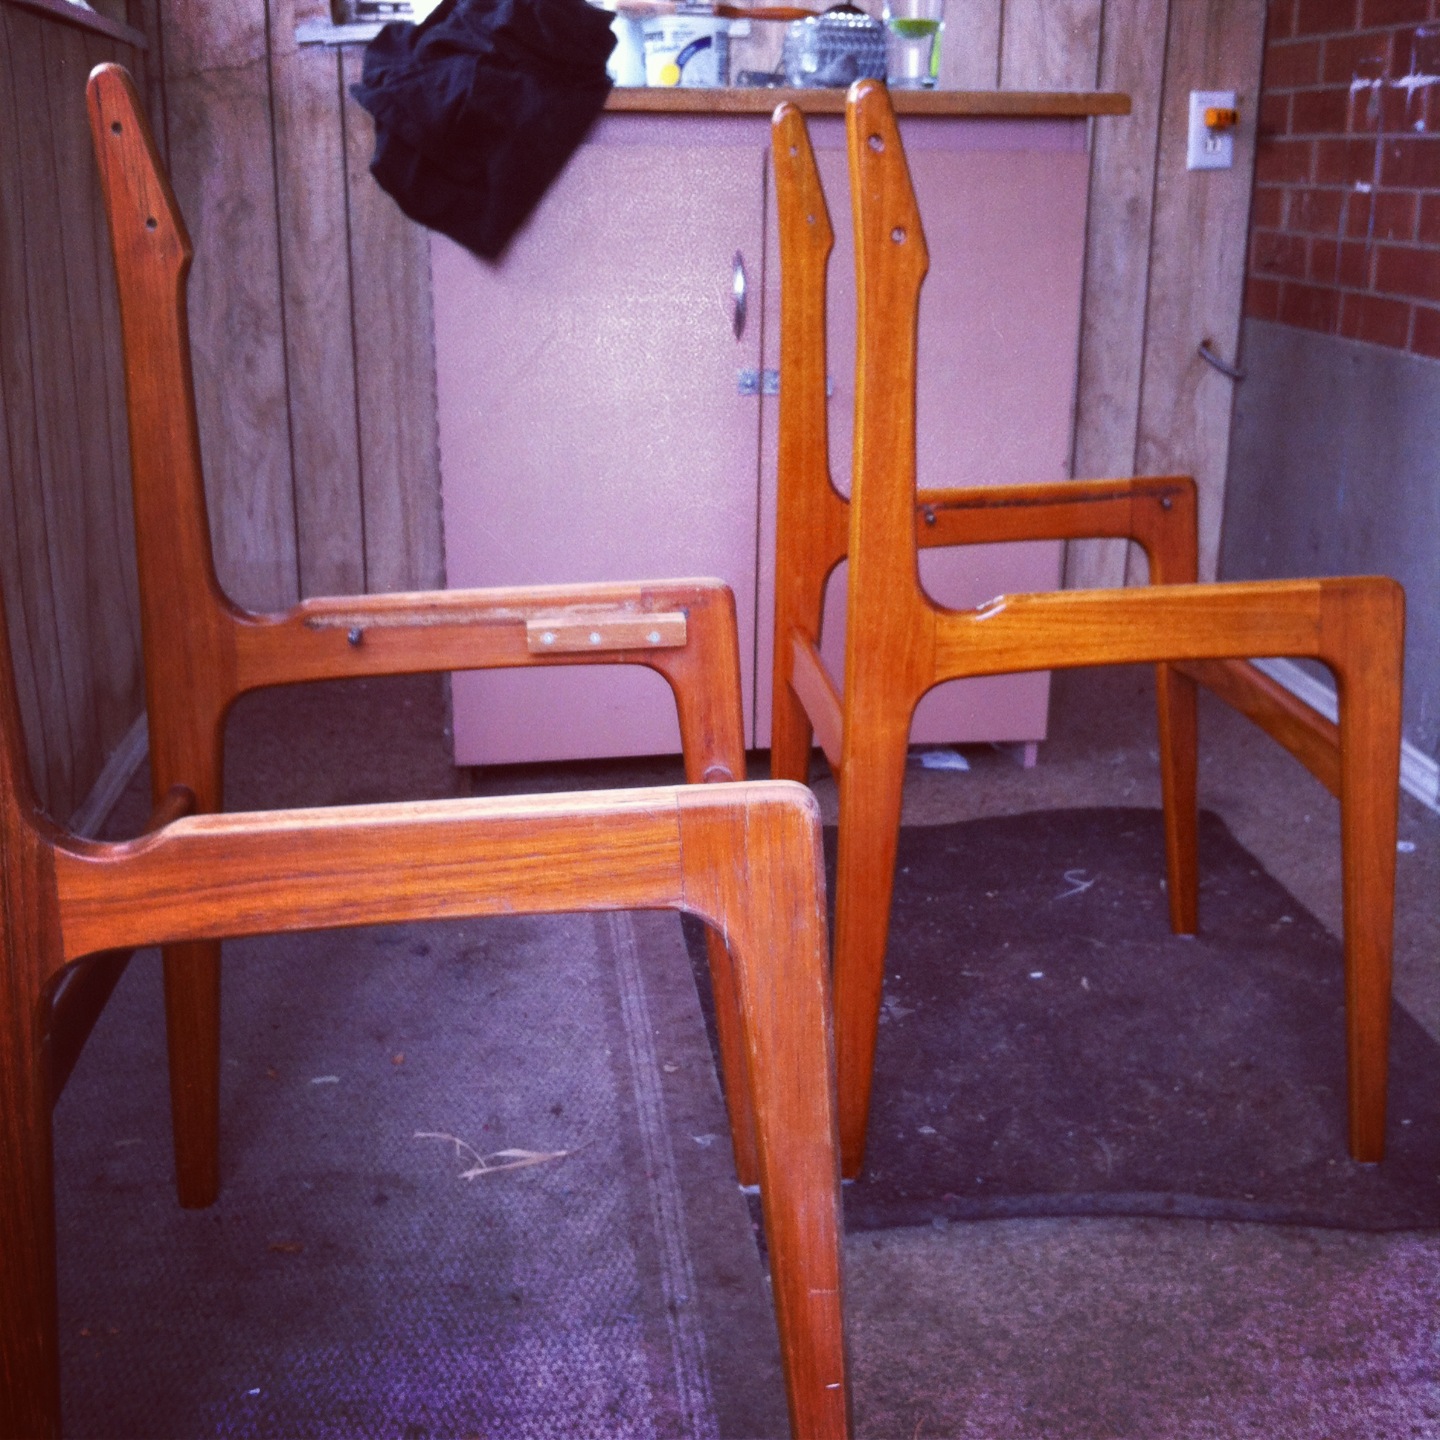
THE SITUATION: I found three teak chairs in varying states of disrepair at a local thrift store. They had yellowy brown Naugahyde straight out of the early 80s. My brain says “OMG this is a great deal and refinishing them is going to be EASY”
Ha. Ha. Ha. Riiiiight.
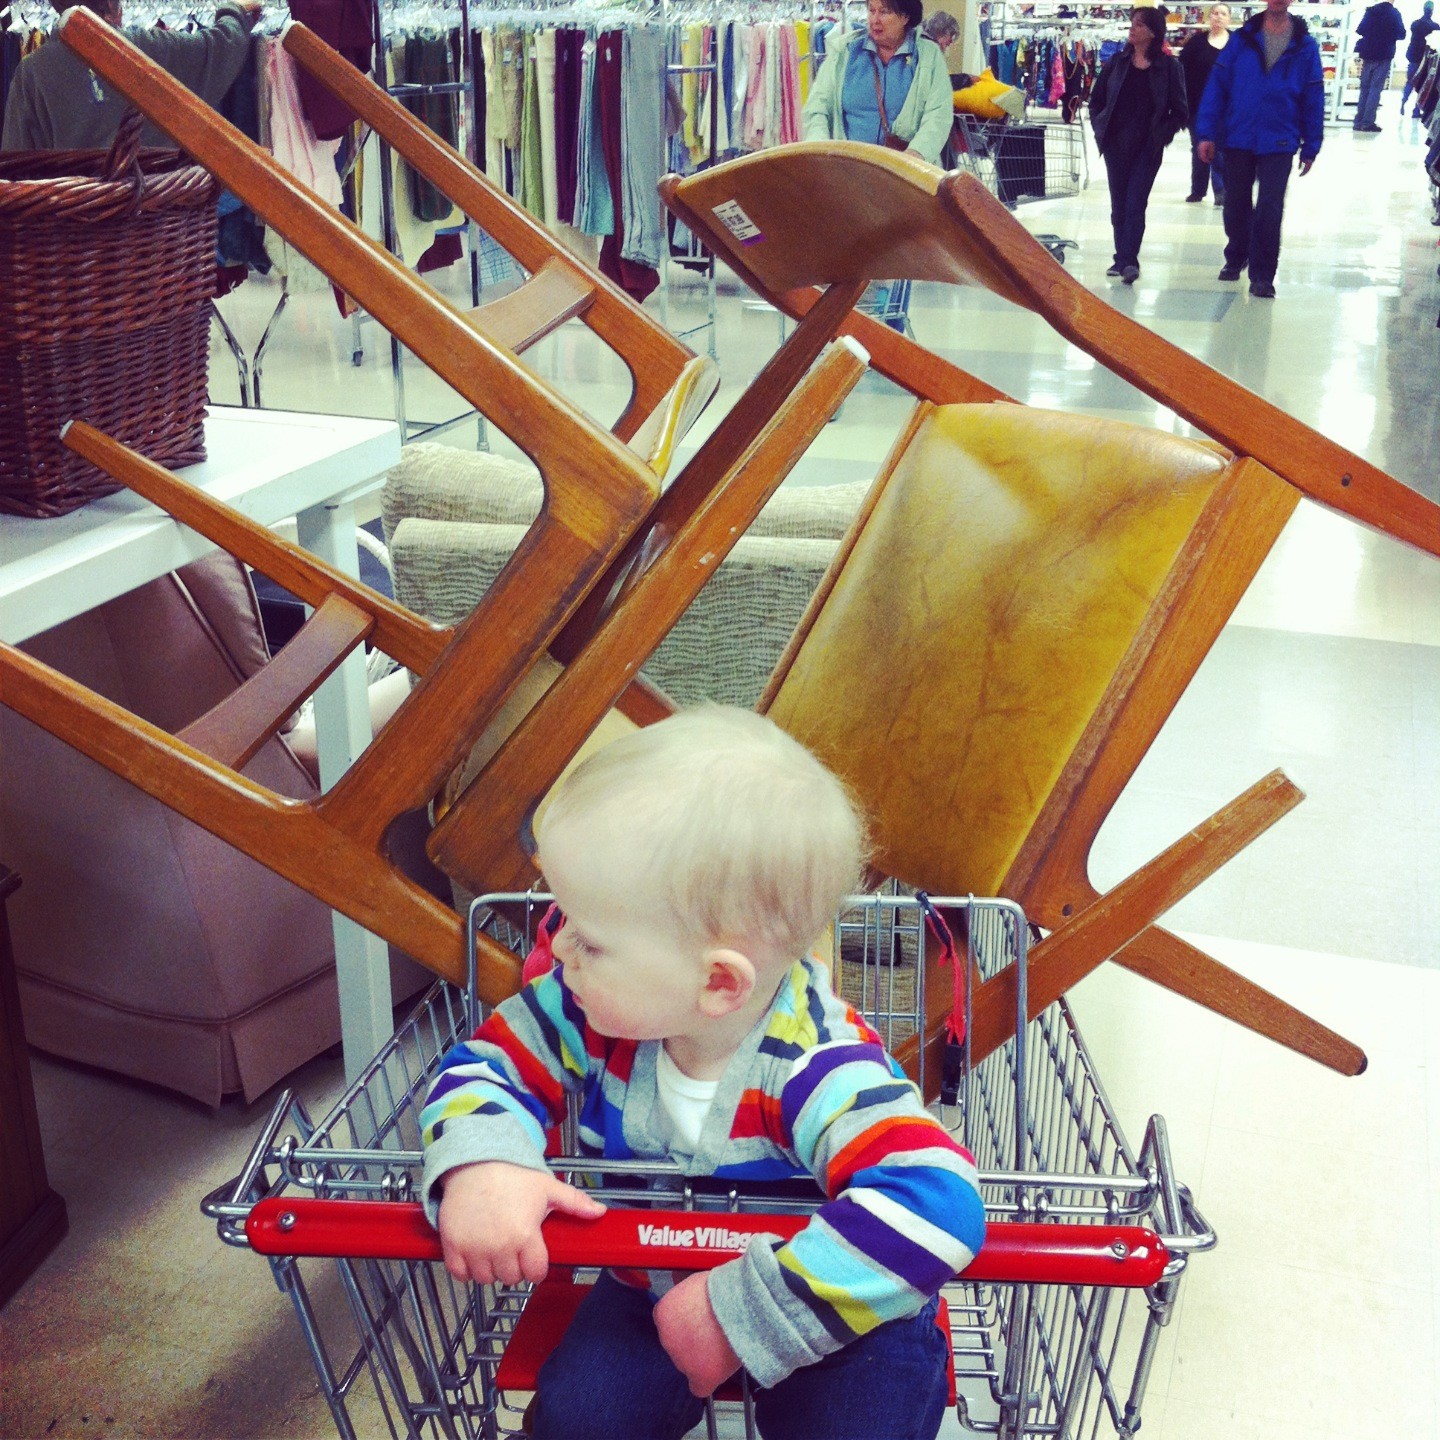
Stacking unstackable chairs is an art form, people.
PROBLEM: the chairs had been refinished in the 80s, they are much older than that. Whoever did it used a massive amount of staples, which did not want to come out of the wood. I tried prying them with a precision screwdriver, which tends to be a useful staple removal tool in my house. Not so much this time around.
SOLUTION: I didn’t bother taking the staples out of the seat bottoms, it would have taken me a year and I would have damaged the wood. So I cut the vinyl off, staying as close to the staples as possible. For the back piece, I had to get a special side-cutter that was small enough to help me pry out the staples. The precision screwdriver did end up helping me in the end. I am now a certified Staple Dentist.
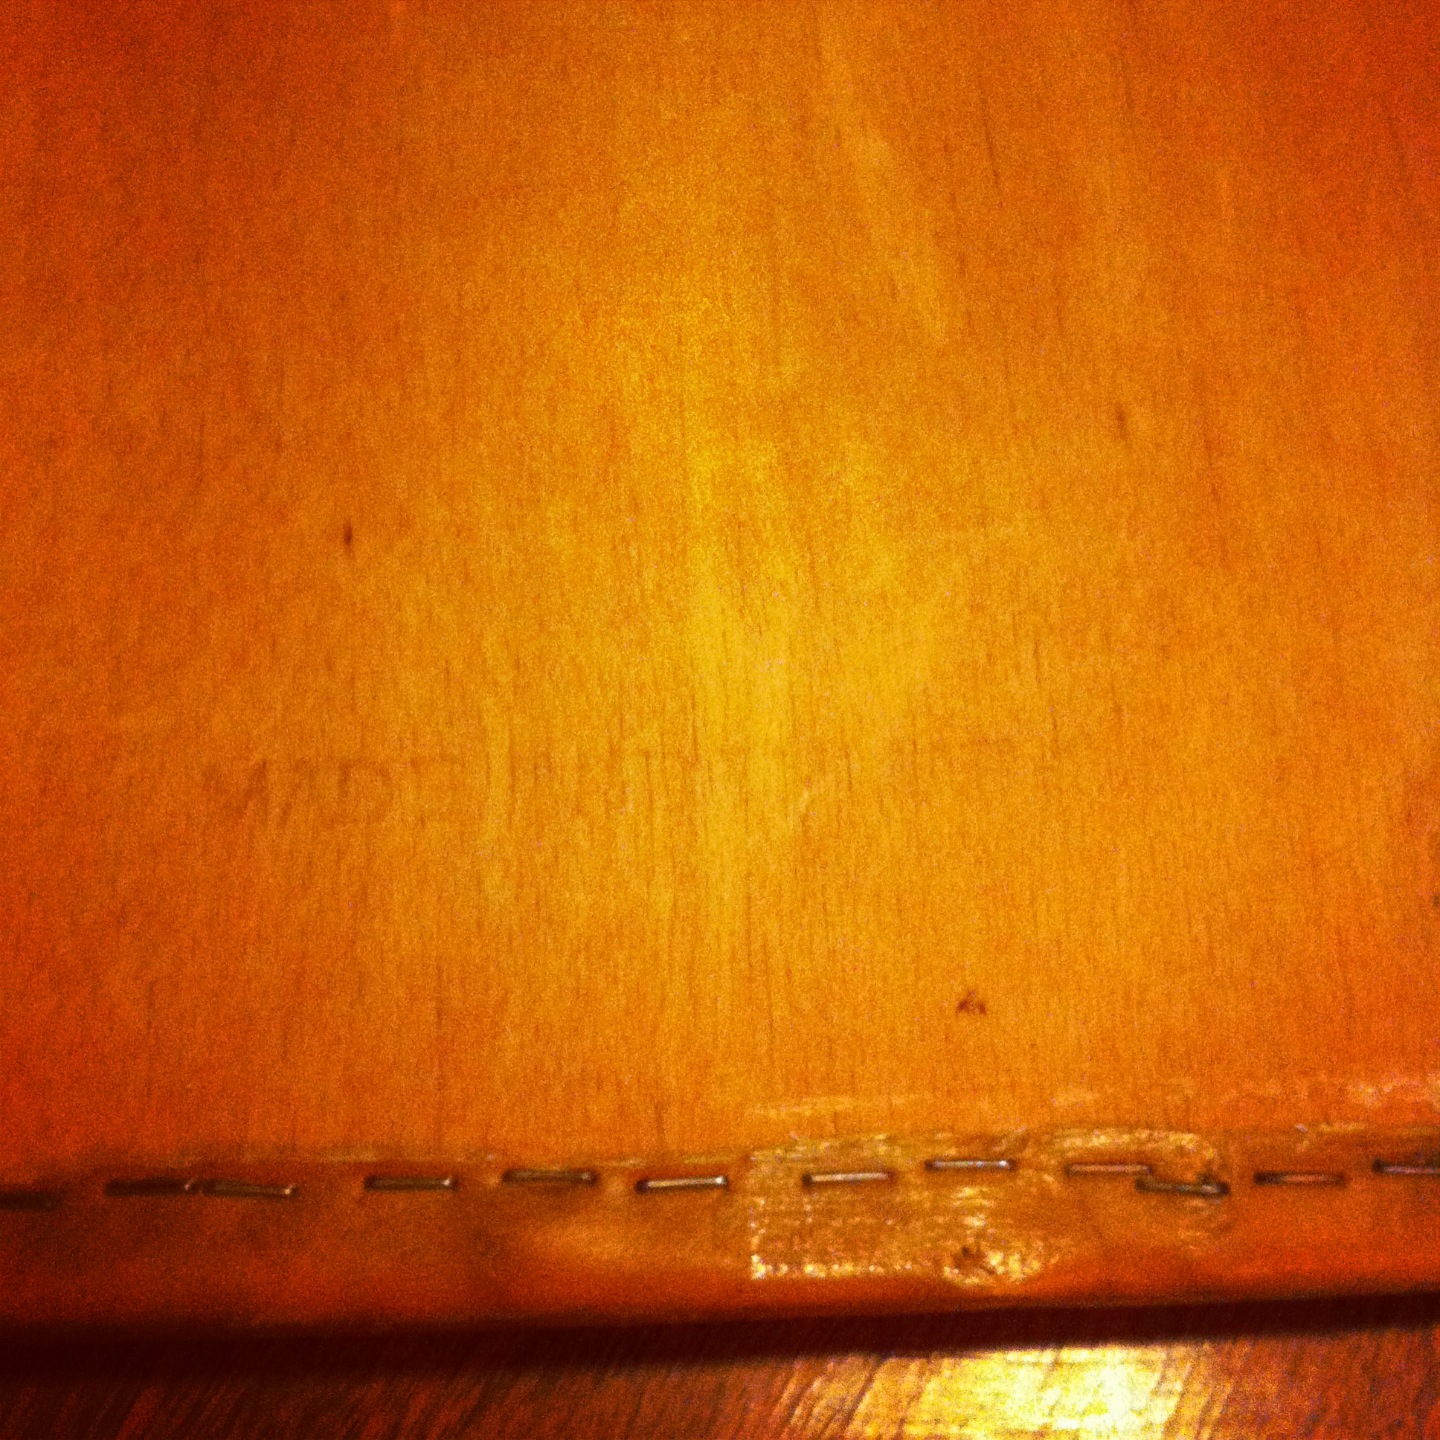
Look at all those staples. They were so snug to the wood I couldn’t pry them off to save my life.
PROBLEM: the grooves in the back pieces were too deep to use a staple gun.
SOLUTION: I found some dainty and mostly flat headed escutcheon nails in brass and used my little tack hammer and a nail punch to nail the fabric into the grooves. The next person to upholster these chairs may curse my name but I can’t go out and buy a professional staple gun with a narrow bottom!
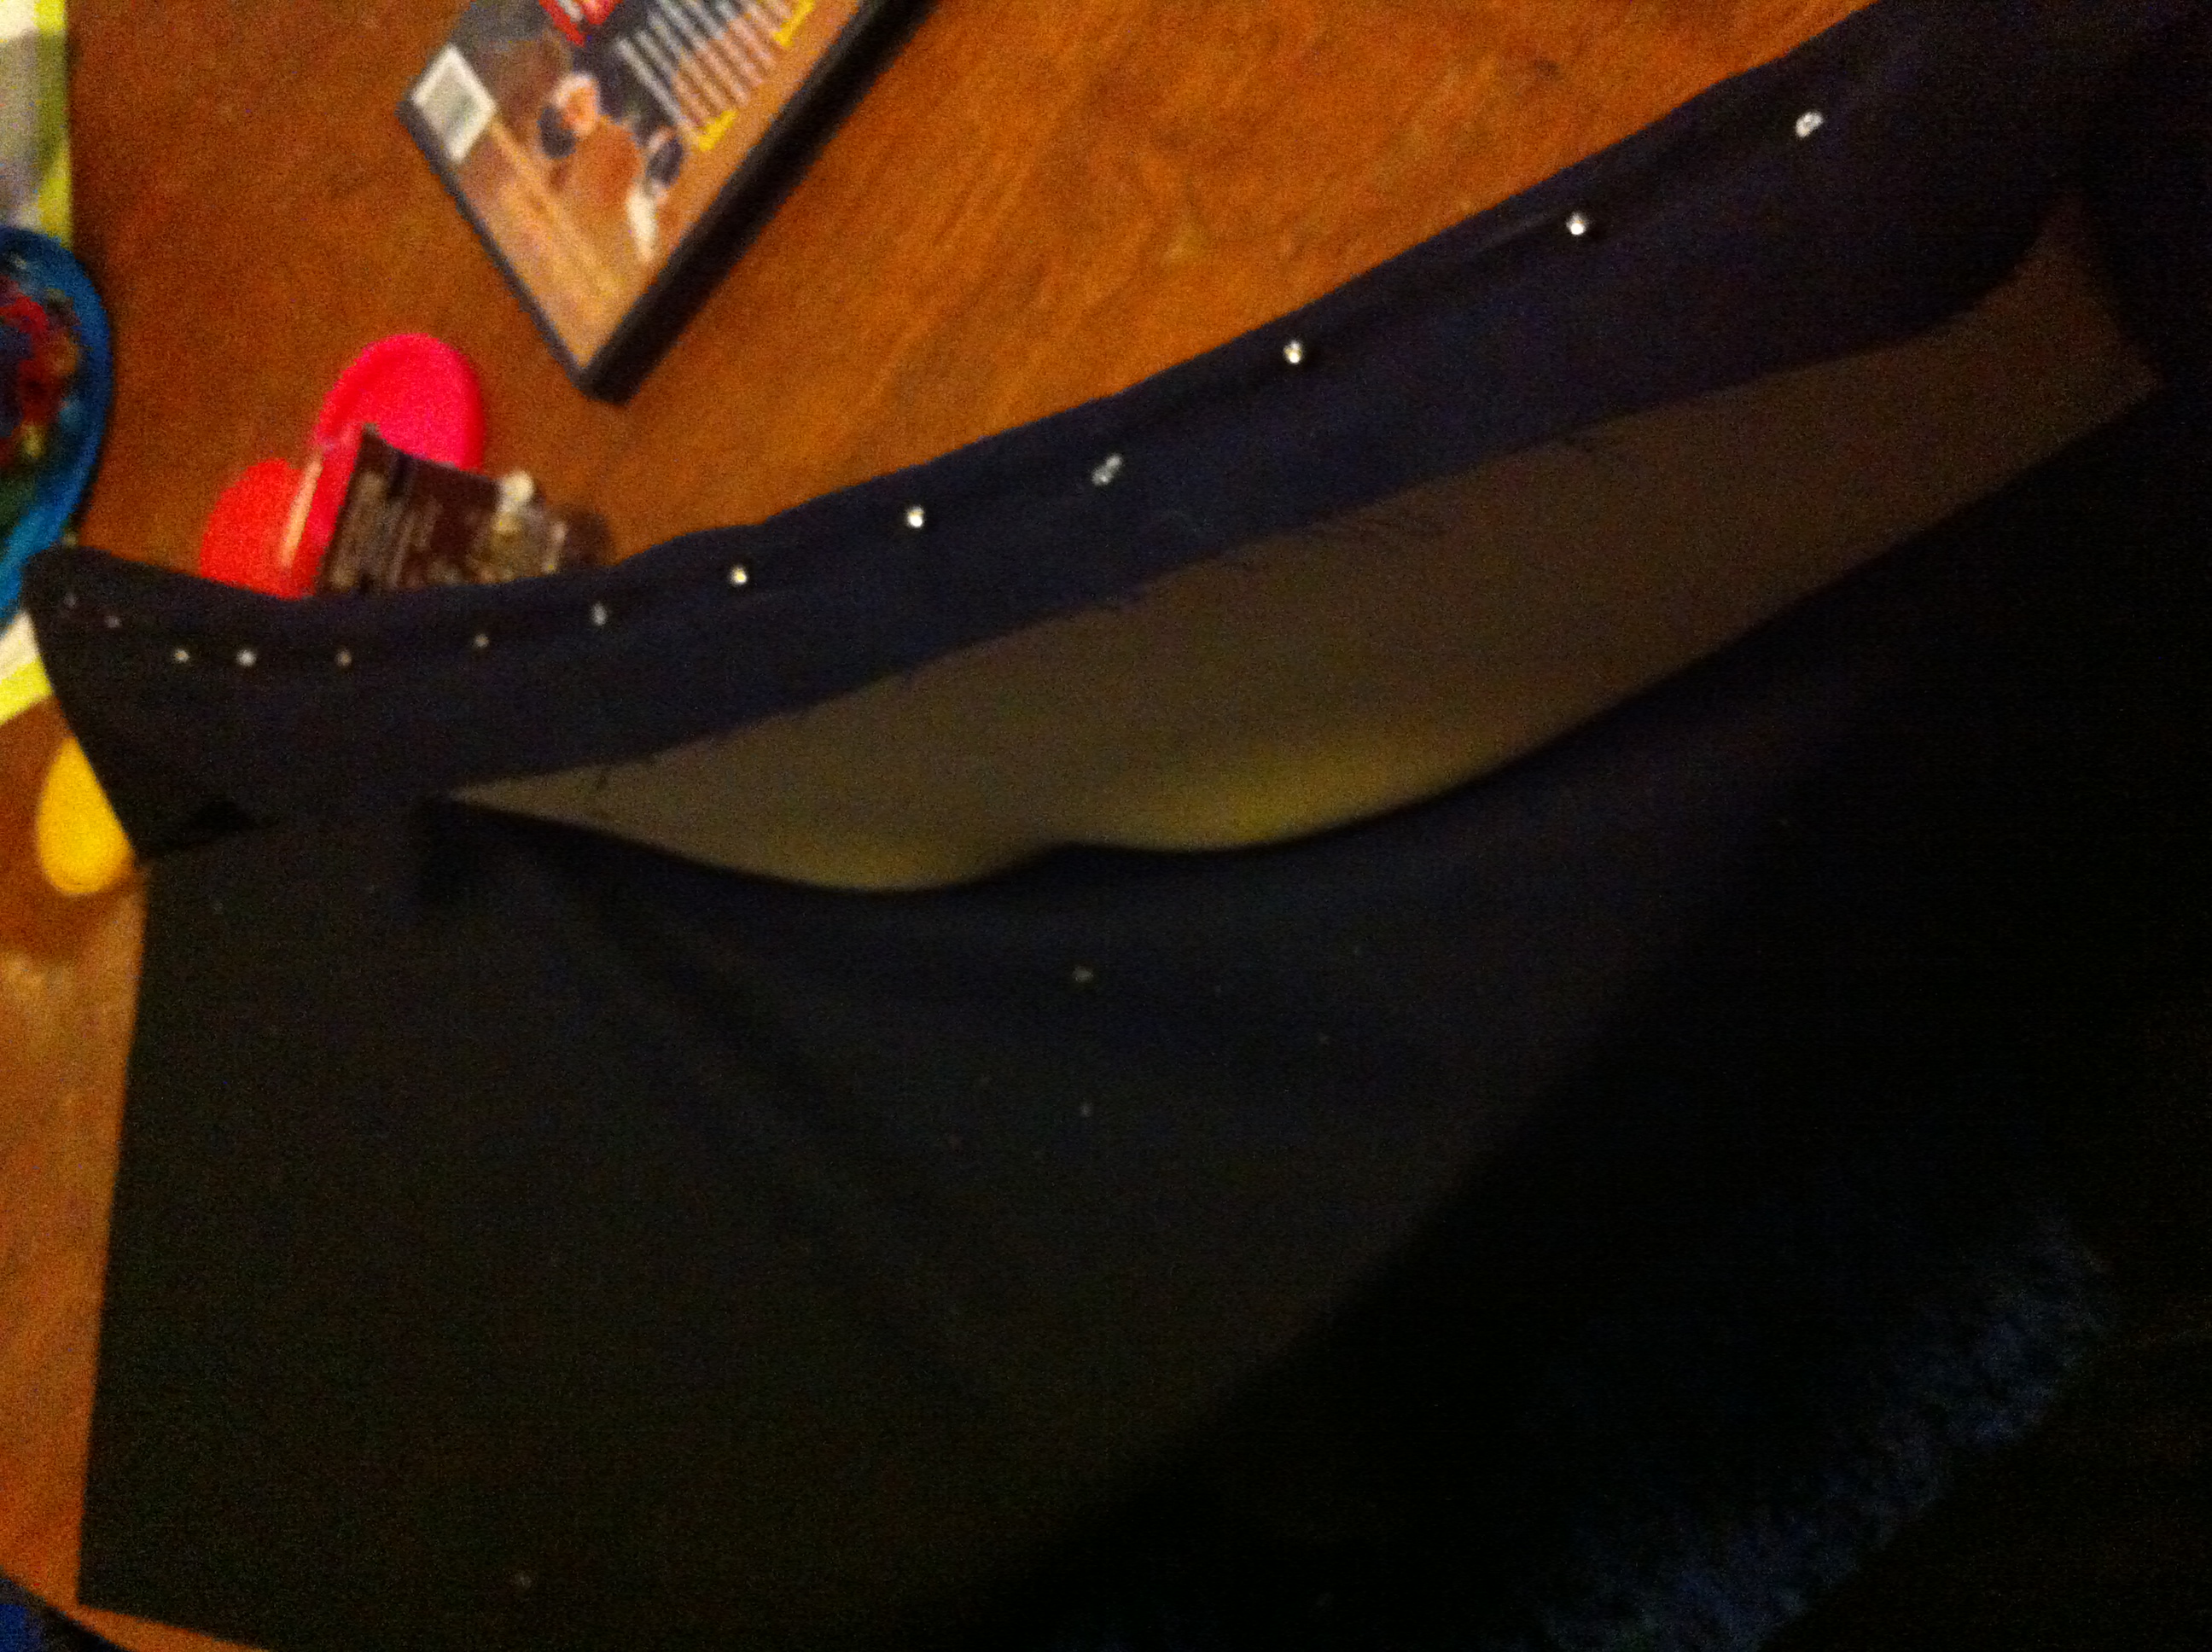
These nails are nice and shiny and have enough of a head on them to hold down the fabric nicely.
PROBLEM: I used a few longer nails on the sides of the back pieces. I thought I had checked to make sure they all went in straight. I didn’t. Two nails were poking out, and I didn’t see (or rather, feel) them until I had the whole thing done. I tried to stick the nails in, through the fabric, very carefully. I made two small holes. SUB-PROBLEM: I bought material at a liquidation store. They were all out.
SOLUTION: do-over on one back piece. Much more carefully!!! Luckily I had enough extra material to cover another piece. I was almost S.O.L.
You can’t see in this picture, and barely in real life, that there are holes in that black fabric. I know they are there and they must be fixed!
PROBLEM: the place I chose to put teak oil on the chairs was well ventilated but turns out, infested with cat hair. I didn’t notice until it was time to rub the excess oil off and all of a sudden hair was everywhere, sticking to my chairs. To be honest at this point I’d had a few gin and tonics (it was a nice day!) so I went to bed and figured I’d deal with it in the morning
SOLUTION: I am a lucky lucky girl. All the hair rubbed right off after the chairs had sat over night. It could have been disastrous. It wasn’t. Thank you good karma (next time, a drop cloth is being used no matter what).
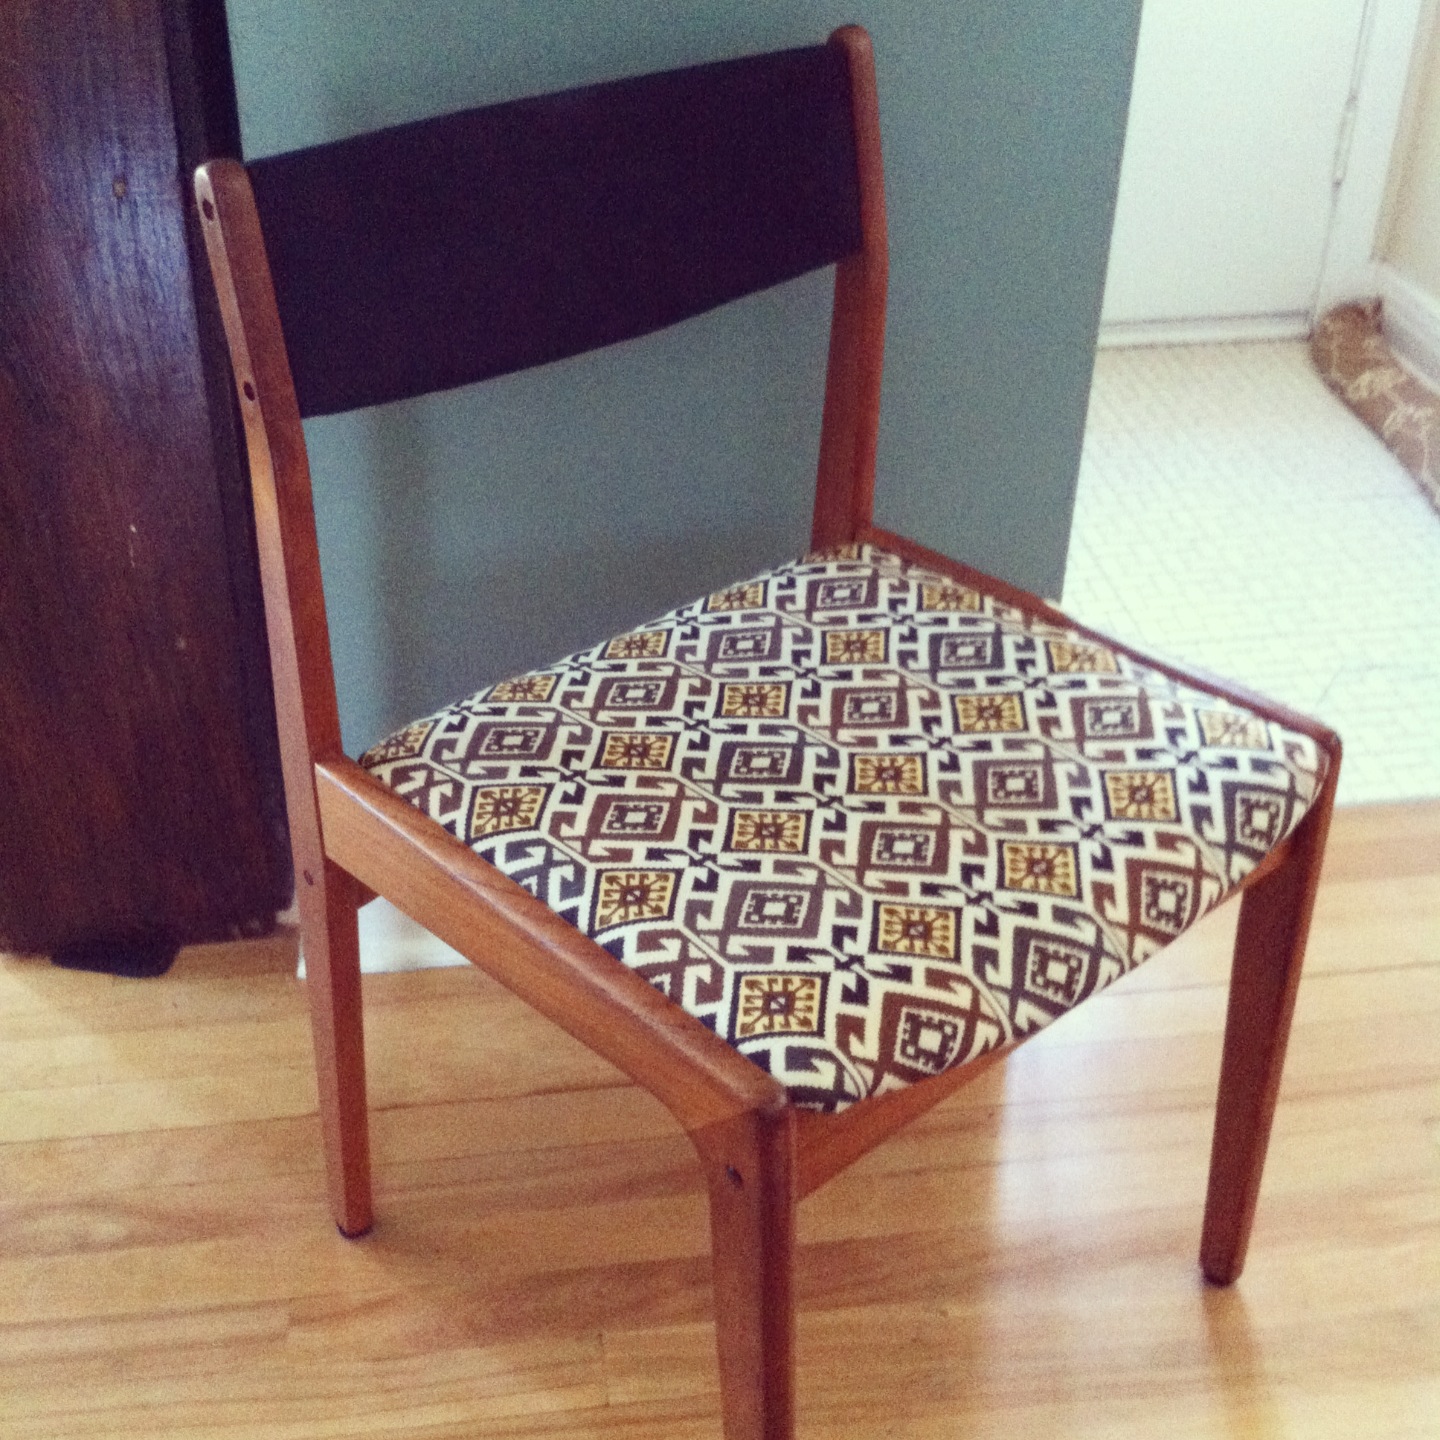
Not oiled, oiled. This room was ripped down the next day. I thought it would be a good place to do some teak oiling, which smells a lot. Should have used a drop cloth…
PROBLEM: one of the chairs is different than the other two. It has two screws that hold the seat on, that come up through the bottom. One was missing, the other was too long. I went to the hardware store already and had bought a second matching screw so now there are two lumps coming up through the seat instead of one… or none.
SOLUTION: there are no screws made at the length I needed for this chair. The next smallest is too short. So they went with my husband to work, where he used a hack saw or something to cut a bit off the end of the screws to make them the right length.
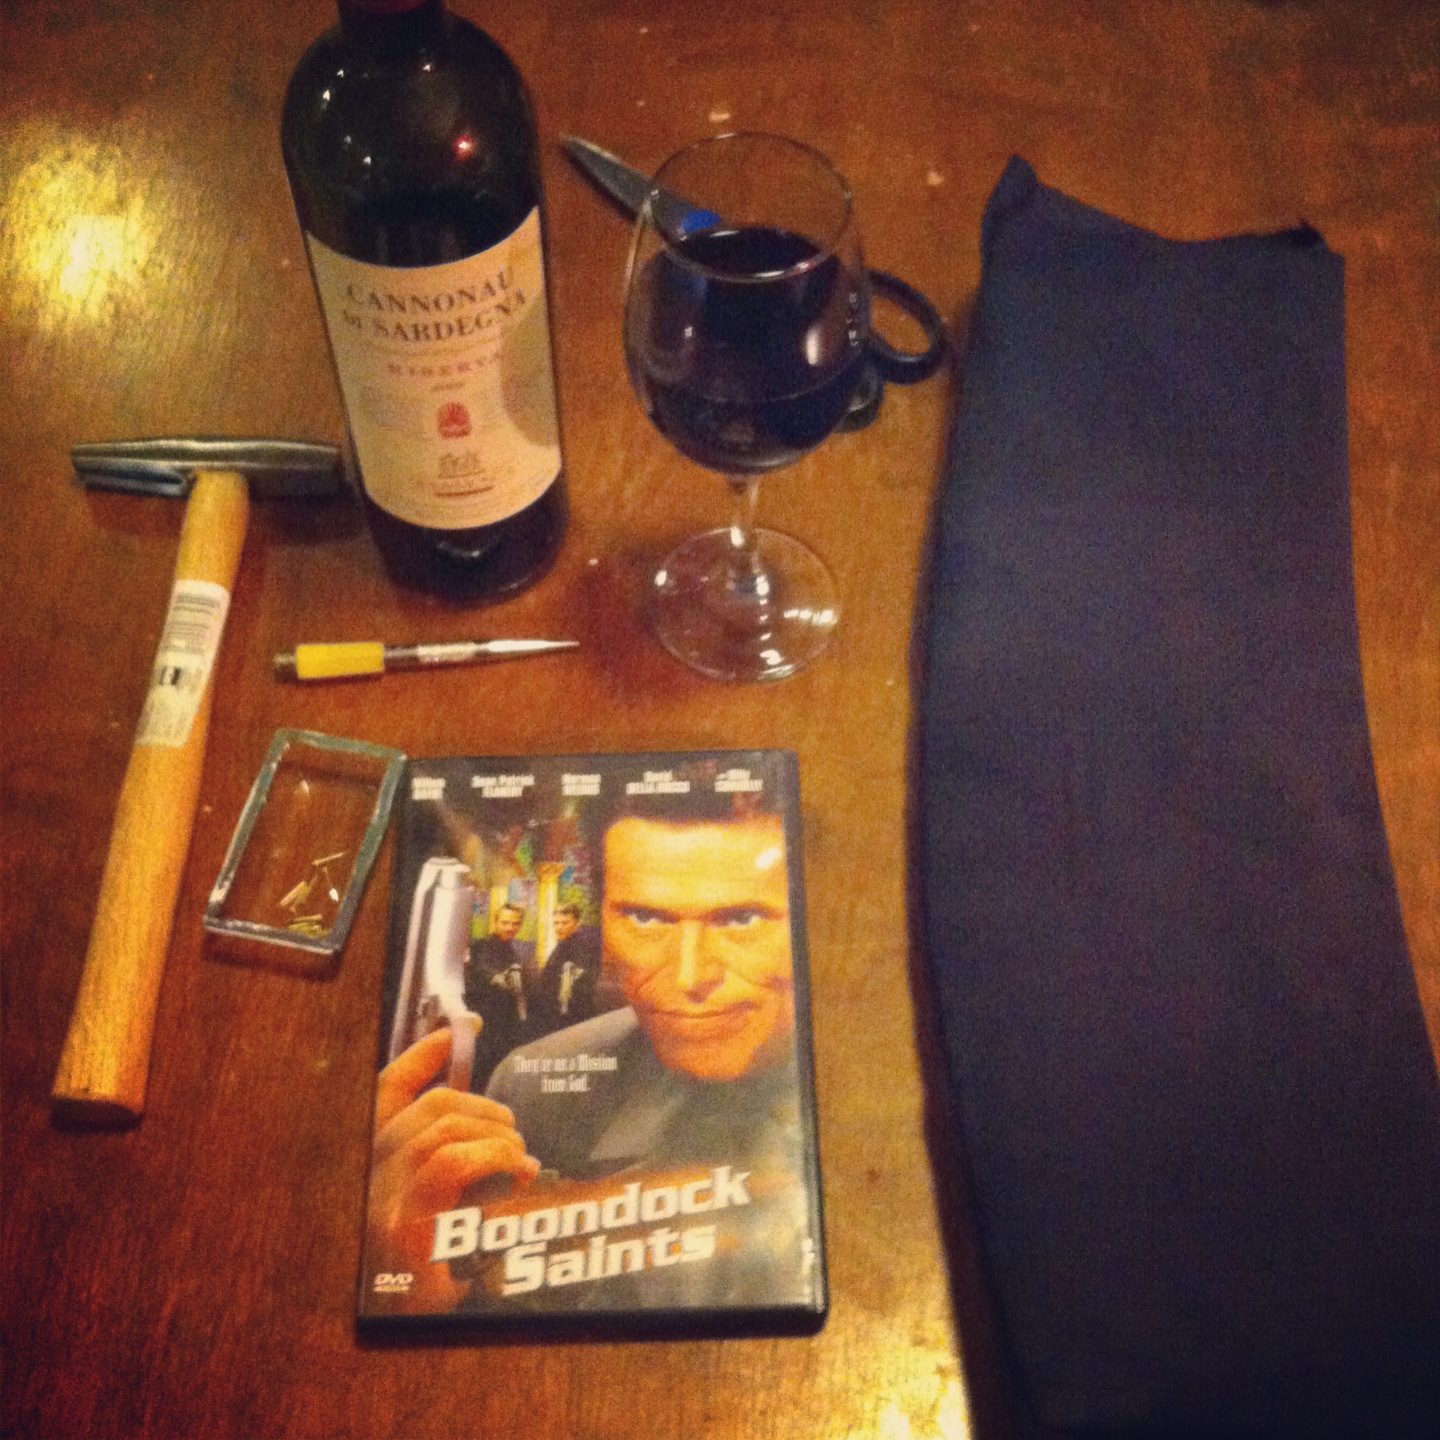
Some of the tools I use on a project. Movies are a good soundtrack.
SUMMARY: easy is never easy. Ever. If you think otherwise, you have yet to challenge yourself. Sometimes the smallest issues can cause you the longest headaches. And while it is impossible to completely assess a situation before you jump into it, I have learned a few more things to keep an eye on when surveying potential projects. I’ve also acquired some new tools at the hardware store.
So, dear readers, learn from this story. It can apply to anything, not just working on a furniture project. Even when we are most careful, something can (and probably will) go wrong somewhere along the way. We must learn from these things so we are better able to deal with them if it happens again.
What projects have you learned a good (or hard) lesson from? Please share in the comments!