DIY closet storage—simplified!
I don’t know if this is anyone else’s story but I have had TROUBLE with storage in my 980 square foot apartment.
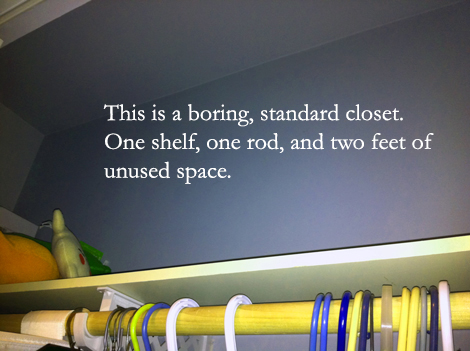
And I blame my closet. It’s one of those standard shelf and rod deals complete with two feet of unused space reaching to the ceiling.
For the past few months I’ve searched and searched for a closet organizing system, which not only met my needs but was in a price range I deemed acceptable. Tougher than I thought it would be. I was complaining to a friend about my closet dilemma and after a quick look she said, “Why don’t you add a shelf?”
Why DON’T I add another shelf? (And why didn’t I think of it before?)
If you’re wondering if a DIY closet shelf is for you, maybe you can learn something from my experience.
Here’s what you need:
- One shelf – the measurements should match exactly in length, but if possible try to find one three to four inches shorter in width. It’s physically easier to put items onto the top shelf when it’s less wide. In my case the shelf I ended up with was exactly the same length and width as the one below, but I compensated by placing the shelf a bit higher
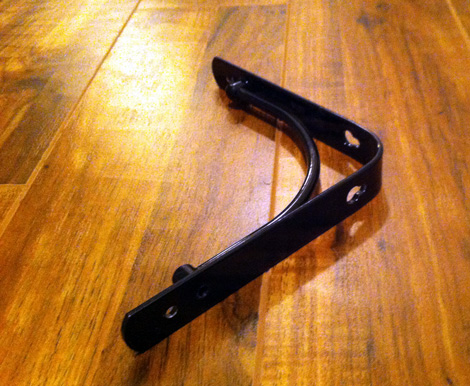
- Five brackets – the exact type doesn’t matter just make sure they’re sturdy enough to hold up the shelf
- A stud finder
- A tape measure
- A hammer
- Nails (one or two will do)
- A cordless drill
- Screws (at least ten)
- If your closet lacks light, a headlamp
Here’s what you do:
- Get as much light in your closet as possible and turn on your headlamp
- Using a stud finder (or other method of your choosing) do your best to find the studs in your closet
- Measuring from the ceiling, mark with pencil on the studs where you want your shelf brackets. What worked great for my shelf was to use three brackets on the long side and two on the shorter ends for extra support
- Make small indentations on your marks using a hammer and nail
- Line up a bracket with nail. Replace the nail with a screw and use a cordless drill to secure the bracket in place. Repeat for the next brackets
- Place shelf on brackets—congratulations!

Not only was adding another shelf to my closet 70 per cent cheaper than purchasing a closet organization system but the install was probably 70 per cent faster too. I found my perfect shelf at a lumber store having a closing out sale, and I had extra brackets kicking around my house. However, I have also seen pretty great shelving units come through Used.ca and I am still kicking myself for letting them pass me by.
This is by no means the only way to add some storage to your closet, but it certainly worked for me! I’m ecstatic with the results and bragging to everyone I speak to. “I put up a shelf in my closet all by myself!”
Robyn Roste
Working full time as a writer, editor and audio broadcast producer should be enough. But instead of resting after a long work day Robyn sets to creating havoc in her space by attempting more DIY, upcycle and knitting projects than she has room for. Her husband is a patient man.
self storage classifieds
Hi there, I read your blog post. It is a really amazing post and I found some
good and useful information on this site.