An upcycled gift: the wooden tray
This year, my family has taken a handmade pledge for Christmas. This means that not one thing under the tree — on my side – my husband’s side is like “Whoa Nelly, what are you guys doing over there?” — can be brand new.
Every gift must be handmade or upcycled. And the gift I’m going to share with you today is both of those things.
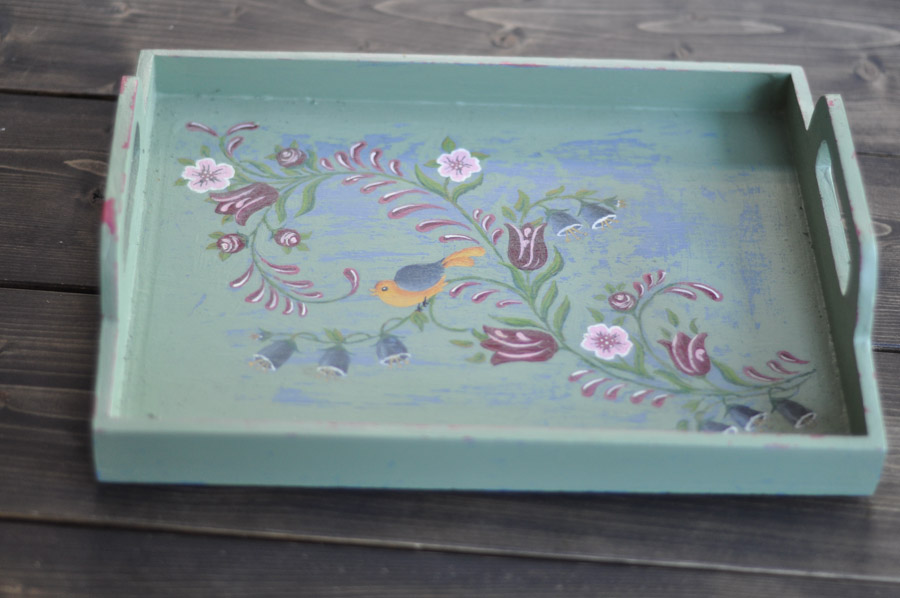
I’ve had this tray for a little while now. It cost $2 and was pretty beaten up. It also had a lovely painting that someone had obviously spent a lot of time on.
But…it’s not really my style. I had plans for this tray.
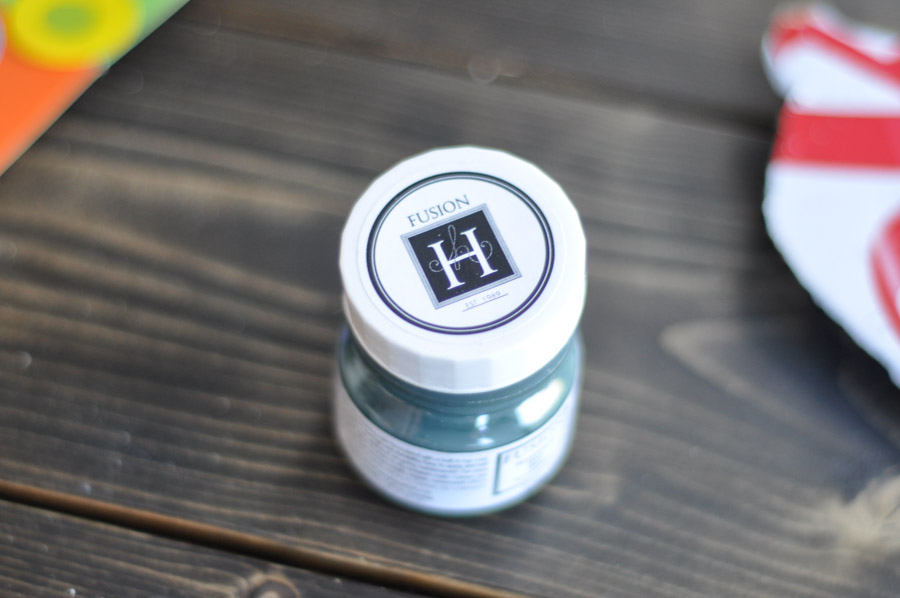
I used Fusion Mineral Paint in Homestead Blue. They’re a Canadian company that I’ve recently fallen in love with. Great colours.

I painted (on a Coke box – the upcycling NEVER stops around here) the tray in its entirety, even though I knew that I would be covering the part of it. Likelihood is, you won’t cut the paper perfectly, so it’s better to have some “forgiveness” areas.
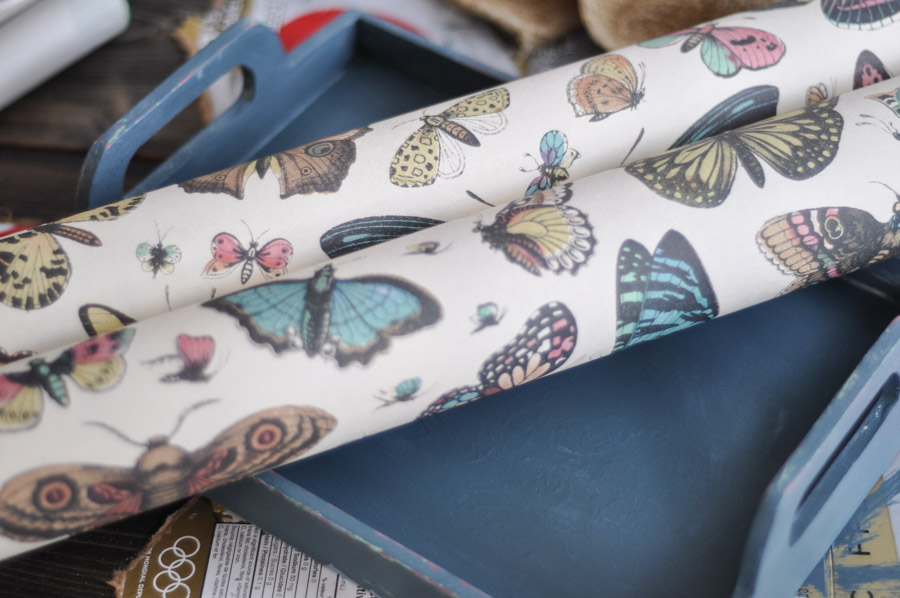
This paper is actually a poster I picked up at a local decor store. I loved it the minute I saw it. I knew that it was just waiting for its destiny.

But before I did any cutting and/or decoupaging of paper, I had to distress the tray a bit. I love some rough edges. Using a sanding block, I scuffed the corners and edges up a bit. Then I gave the tray a quick once over with some natural wax and buffed it off. This is to stop the paint from distressing any further (as it naturally wants to chip and come up to create that worn look) and give a smooth finish.

It was Mod Podge time next!
I applied a thick coat to the base of the tray and then laid the cut out of the poster on top. Then, I spread another generous coat of Mod Podge across the surface of the poster using a foam brush.
I spent a LOT of time trying to get out air bubbles. The thing is, when Mod Podge dries, it smooths itself out (pretty much), but wrinkles will stay there forever.
Because I was doing a more antique/rustic style for the tray, I didn’t get too obsessive about wrinkles. In fact, I kind of wanted them. But, if you’re not into that look, you’ll want to take a credit card and gently smooth them out. Be careful though, damp paper likes to tear.
And then she dried.
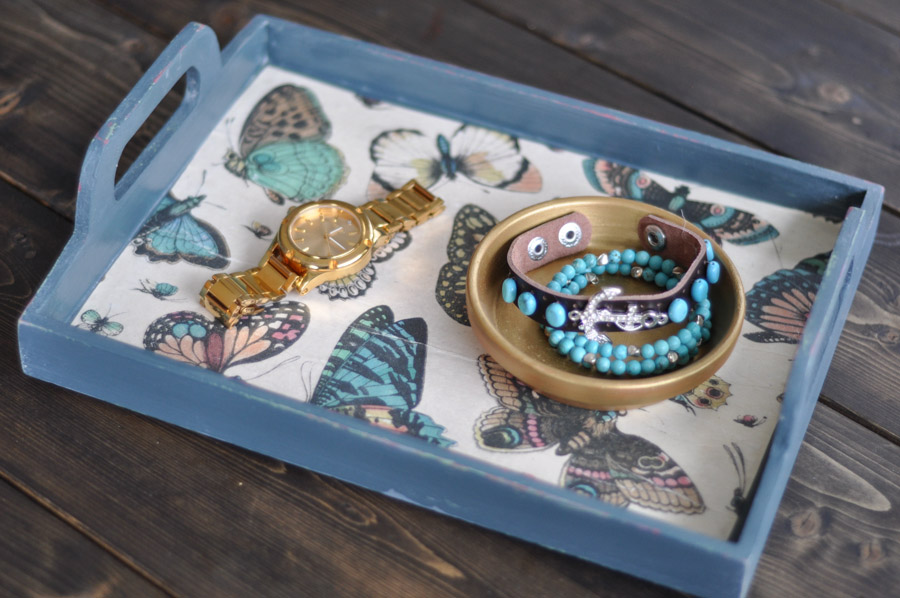
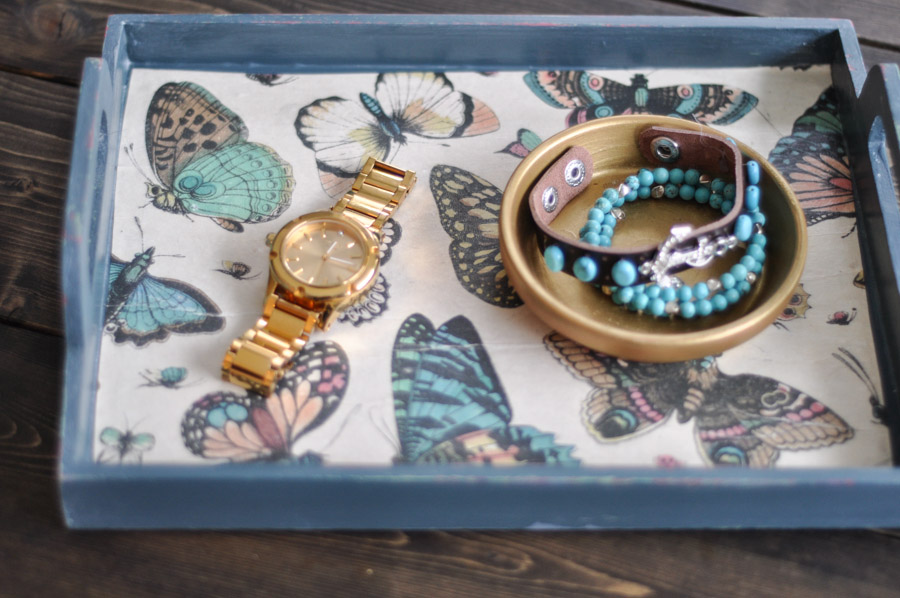
Oh, ain’t she lovely? I love that it has the well-loved look, but the vibrance and femininity of the butterflies are perfect for this tray. I have designs on this being a bedside table tray or perhaps one that sits on the bathroom counter.
Of course, an alternative paper would create an entirely different look.
Think about chevron or trellis, or perhaps a texture – like wallpaper? Really, your options are endless for personalizing your tray. And they make such lovely and sweet gifts.
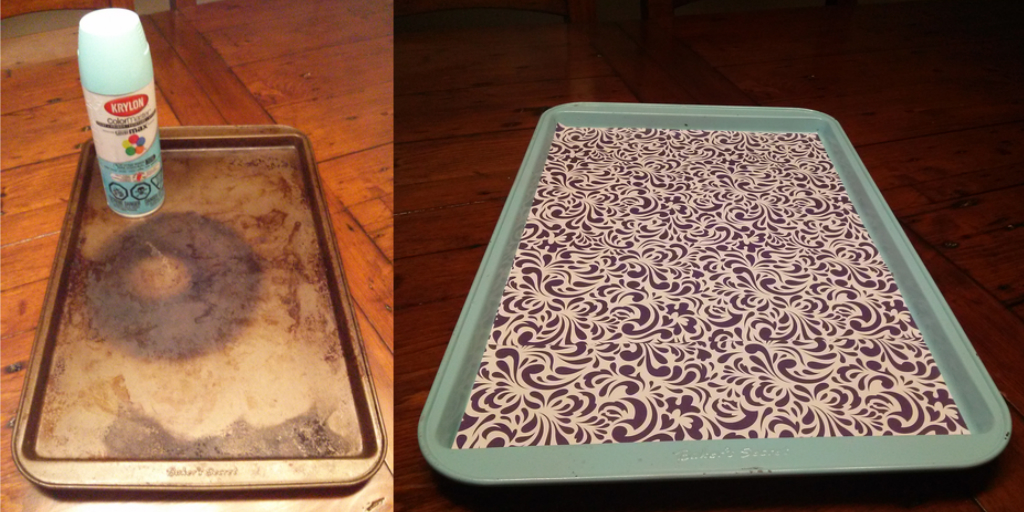
Here’s another idea, take an old metal baking sheet and turn it into beautiful tray following the same steps as above. Neat!
In fact, there are a few trays on the Used.ca sites that are looking for a new home right now and would be perfect for this DIY: Trays on Used.ca.
I hope you all have a lovely Christmas with your loved ones, and that you perhaps find a way to put a pre-loved item under the tree. If you’re at all curious about what I’ve been crafting up – or seeing what I’ll be getting this Christmas – head over to my haunt – Suburble.com.
Useful links
Tara
Tara is the writer and flurry of chaos behind Suburble - a blog about life in the 'burbs. Whether it's decor, DIY, upcycling, cooking or just getting crafty with the kids, she loves working on all things that make up a home. She loves a good cup of tea, funny people, and getting her hands dirty.